
While I’m surprised that anyone wants me to tell them how to paint, I had a number of requests this week to show how I paint flames. I use a quick and simple method with no need for sorcery or much talent, just some patience. There are more realistic methods out there, but this is what I use. Click on the pictures for an enormous version that shows up my sloppy brushwork and the state of my palette.
Basic Theory
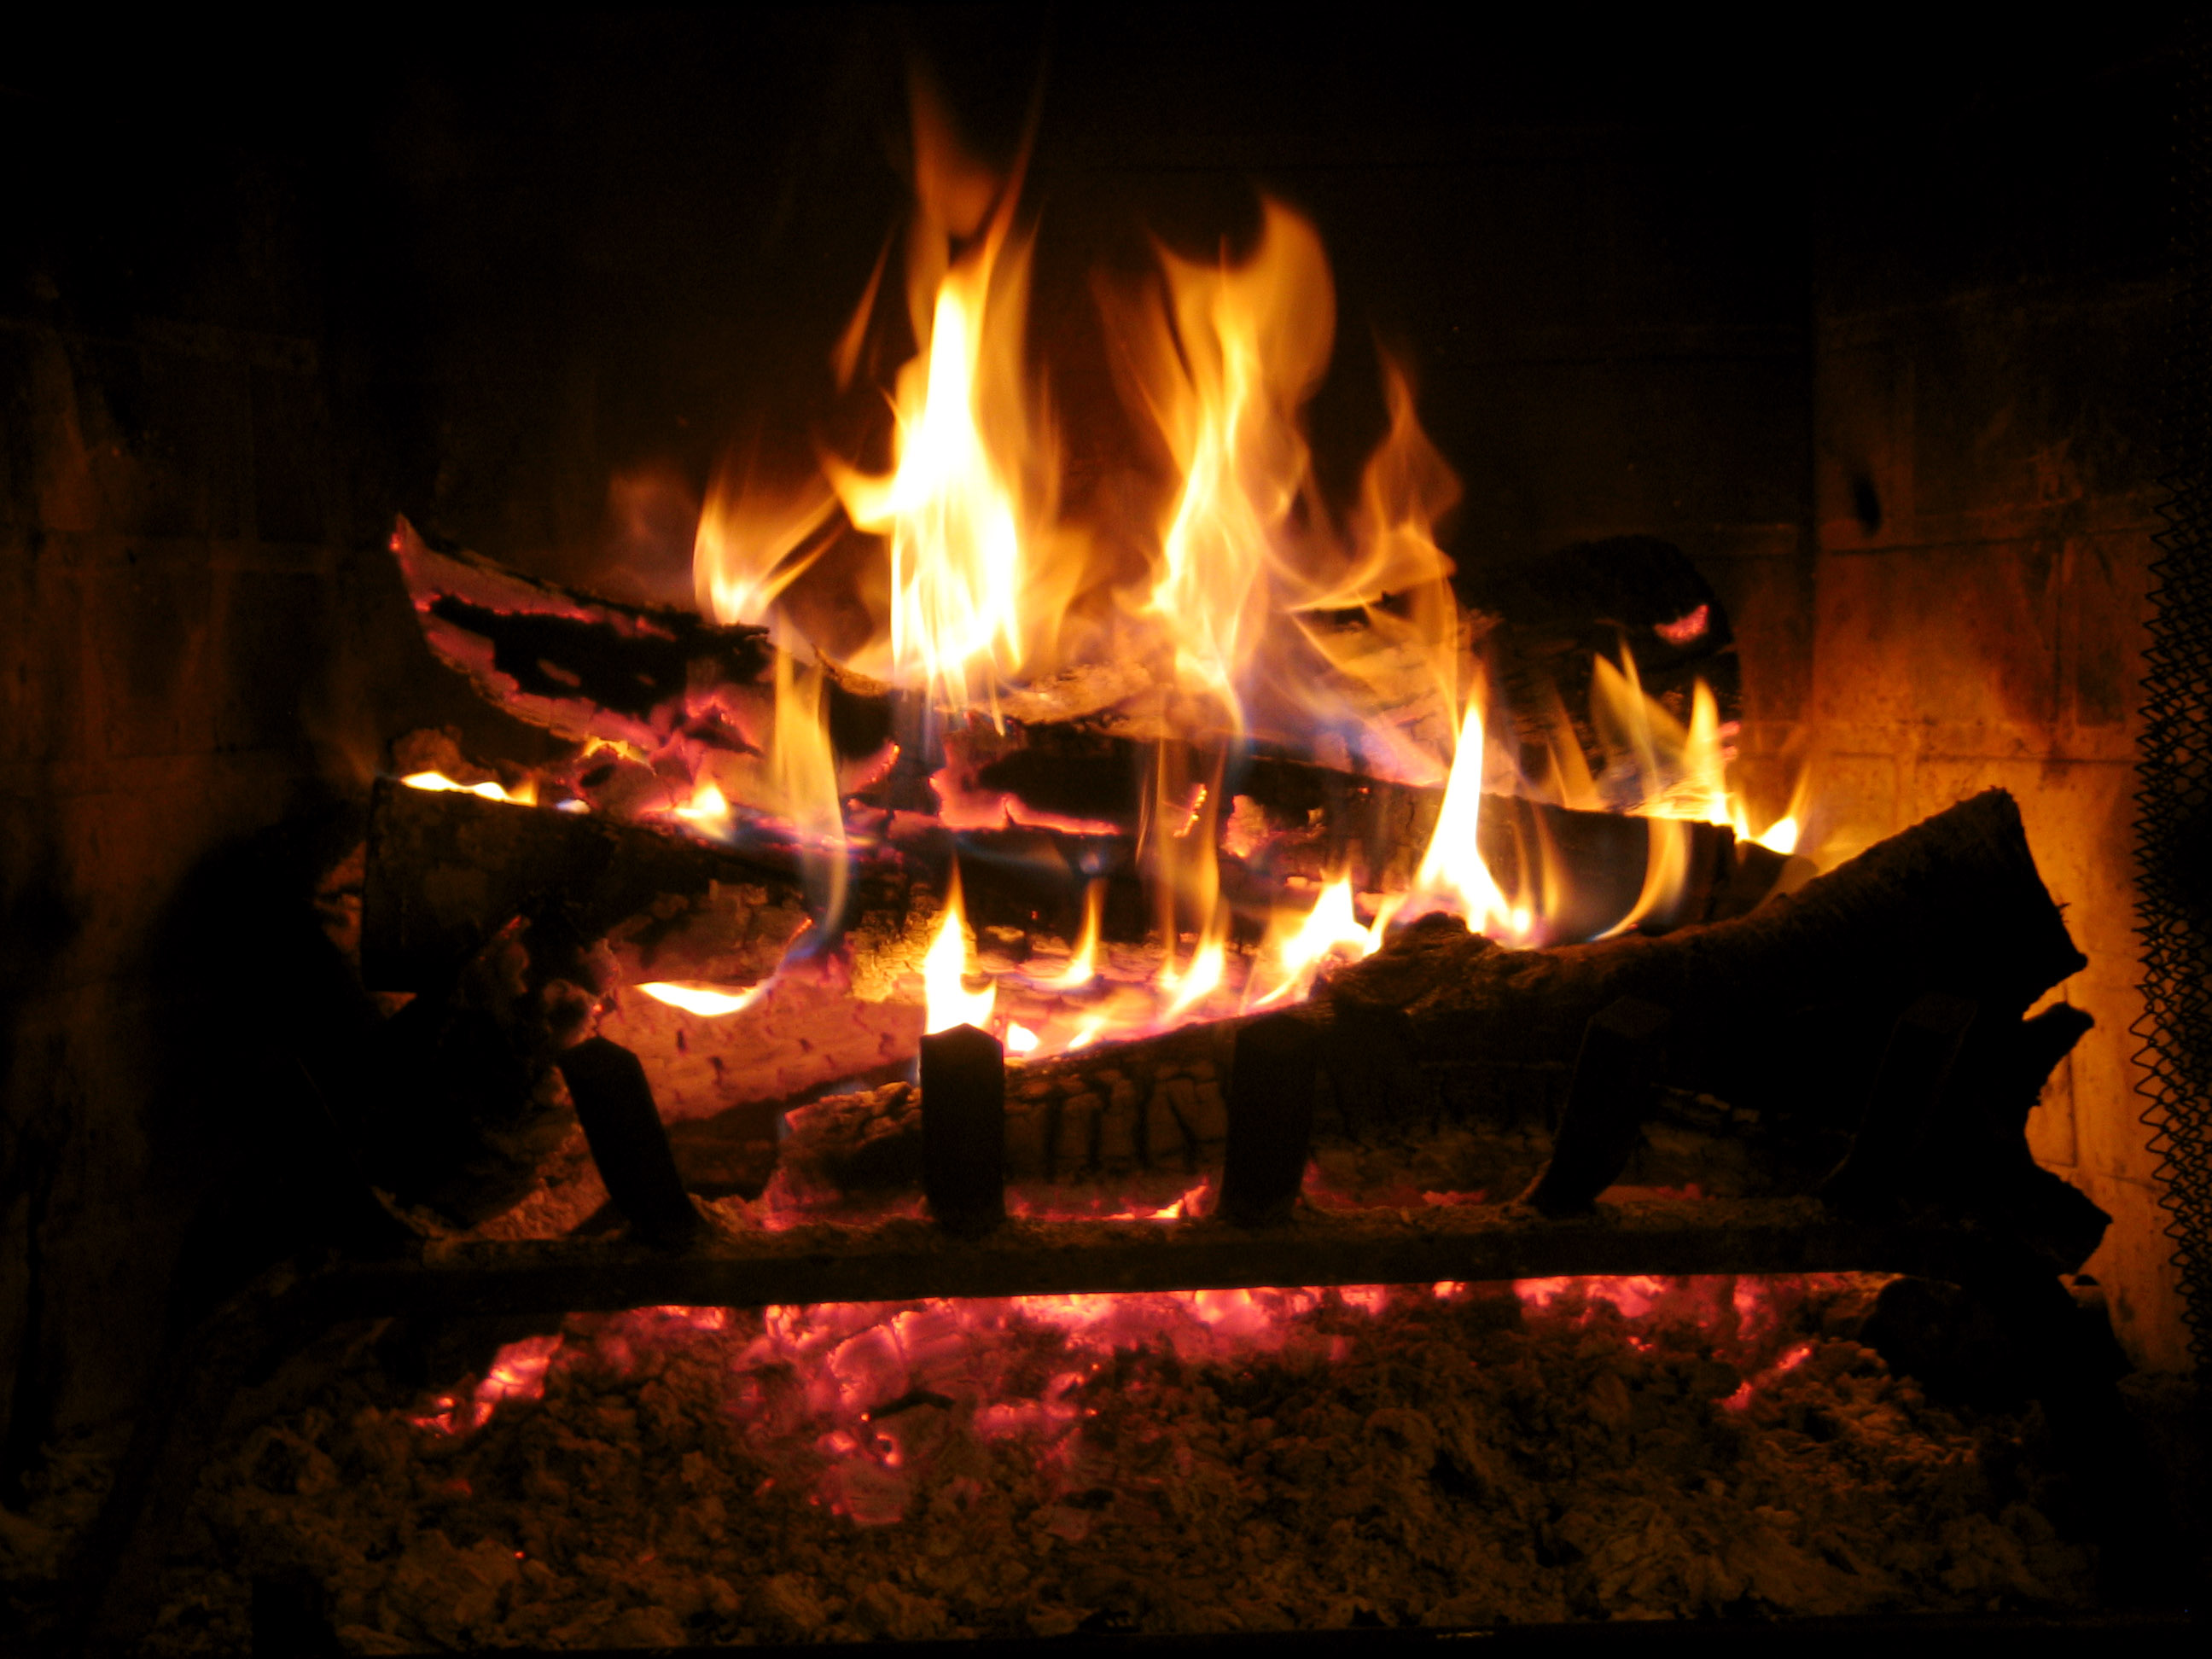
Fire is hot. Look at some fire and, in a very basic sense, you’ll see yellow at the bottom, gradually moving into oranges and reds. That’s exactly what we’re going to do.
And some general advice that’s prevalent here is to thin your paints! That applies across the board but in particular here, it will:
- Flow more easily from your brush
- Give smoother transitions between colours
- Reduce bumpy texture
Bored of Theory – Get Some Paint
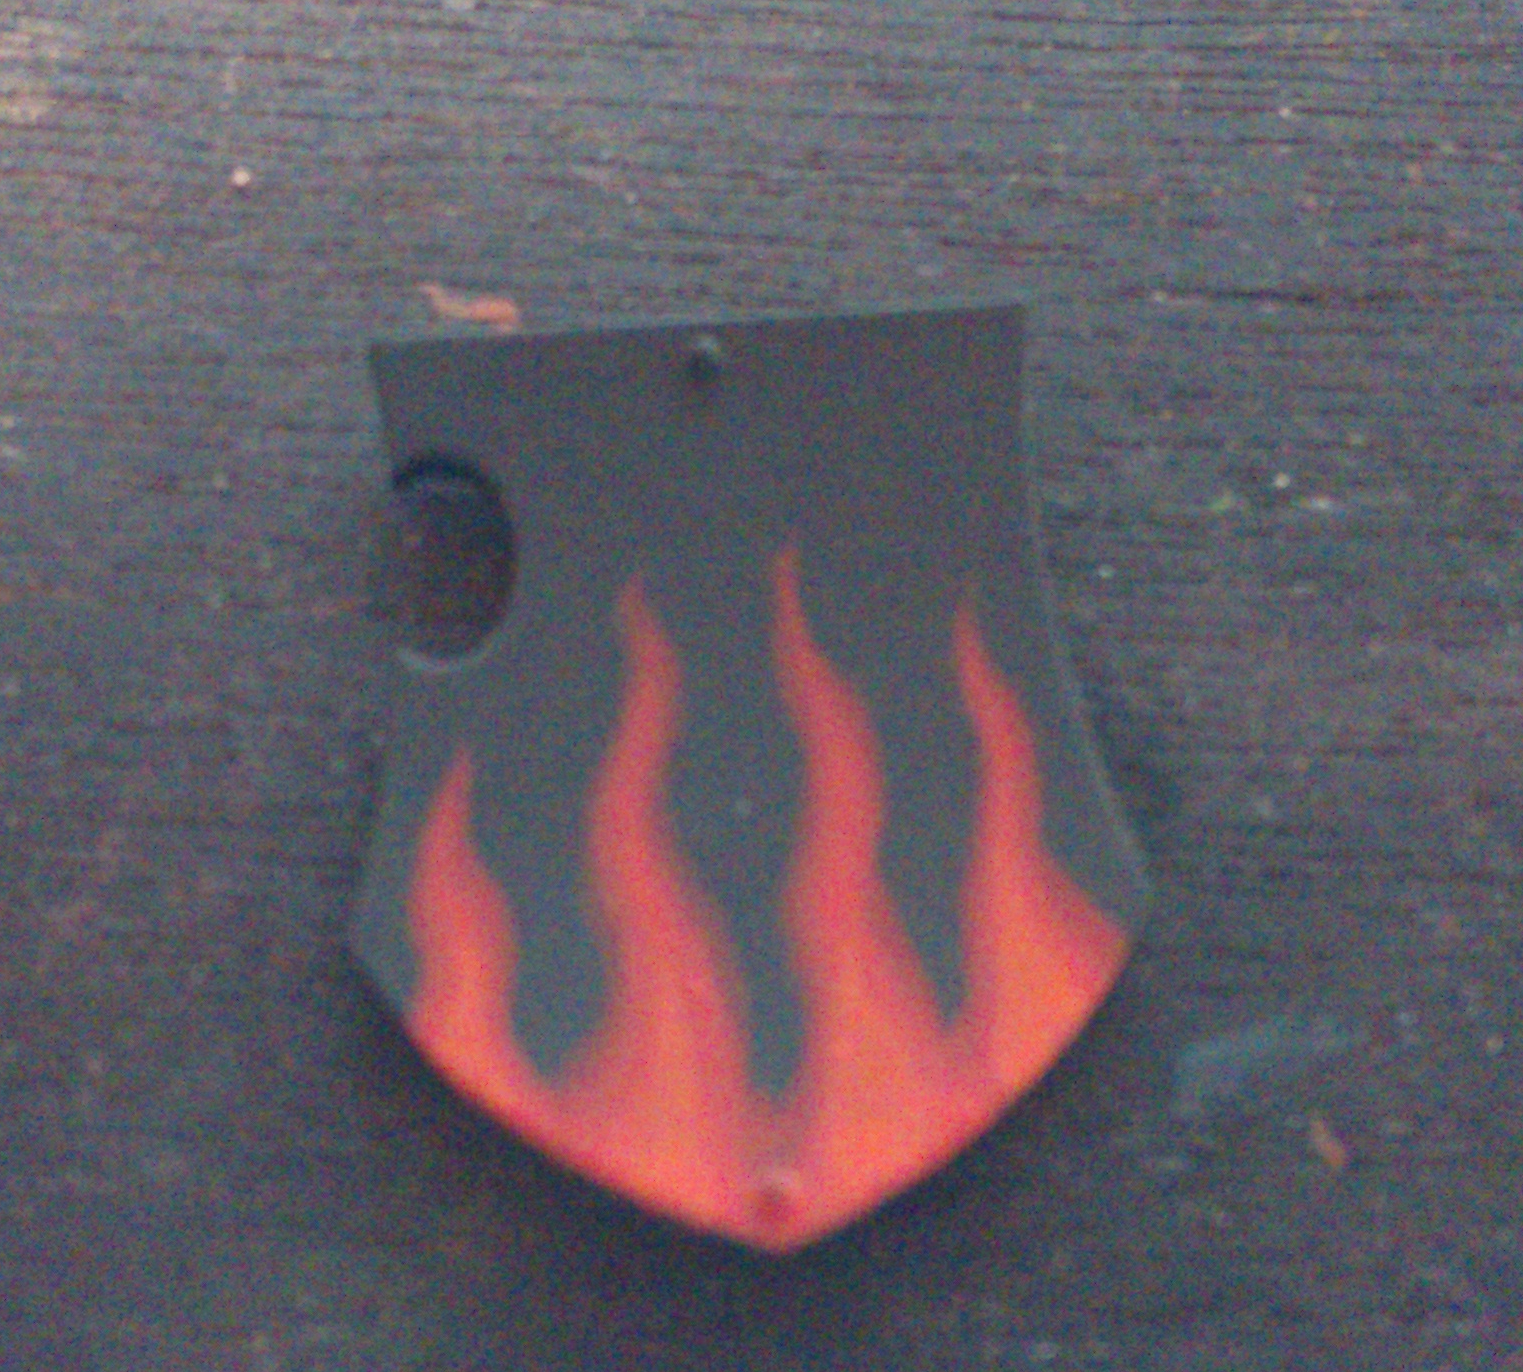
Starting with red, we’re going to build up to a lighter colour. First off, paint some wavy lines in GW Mephiston Red to form your basic shape:
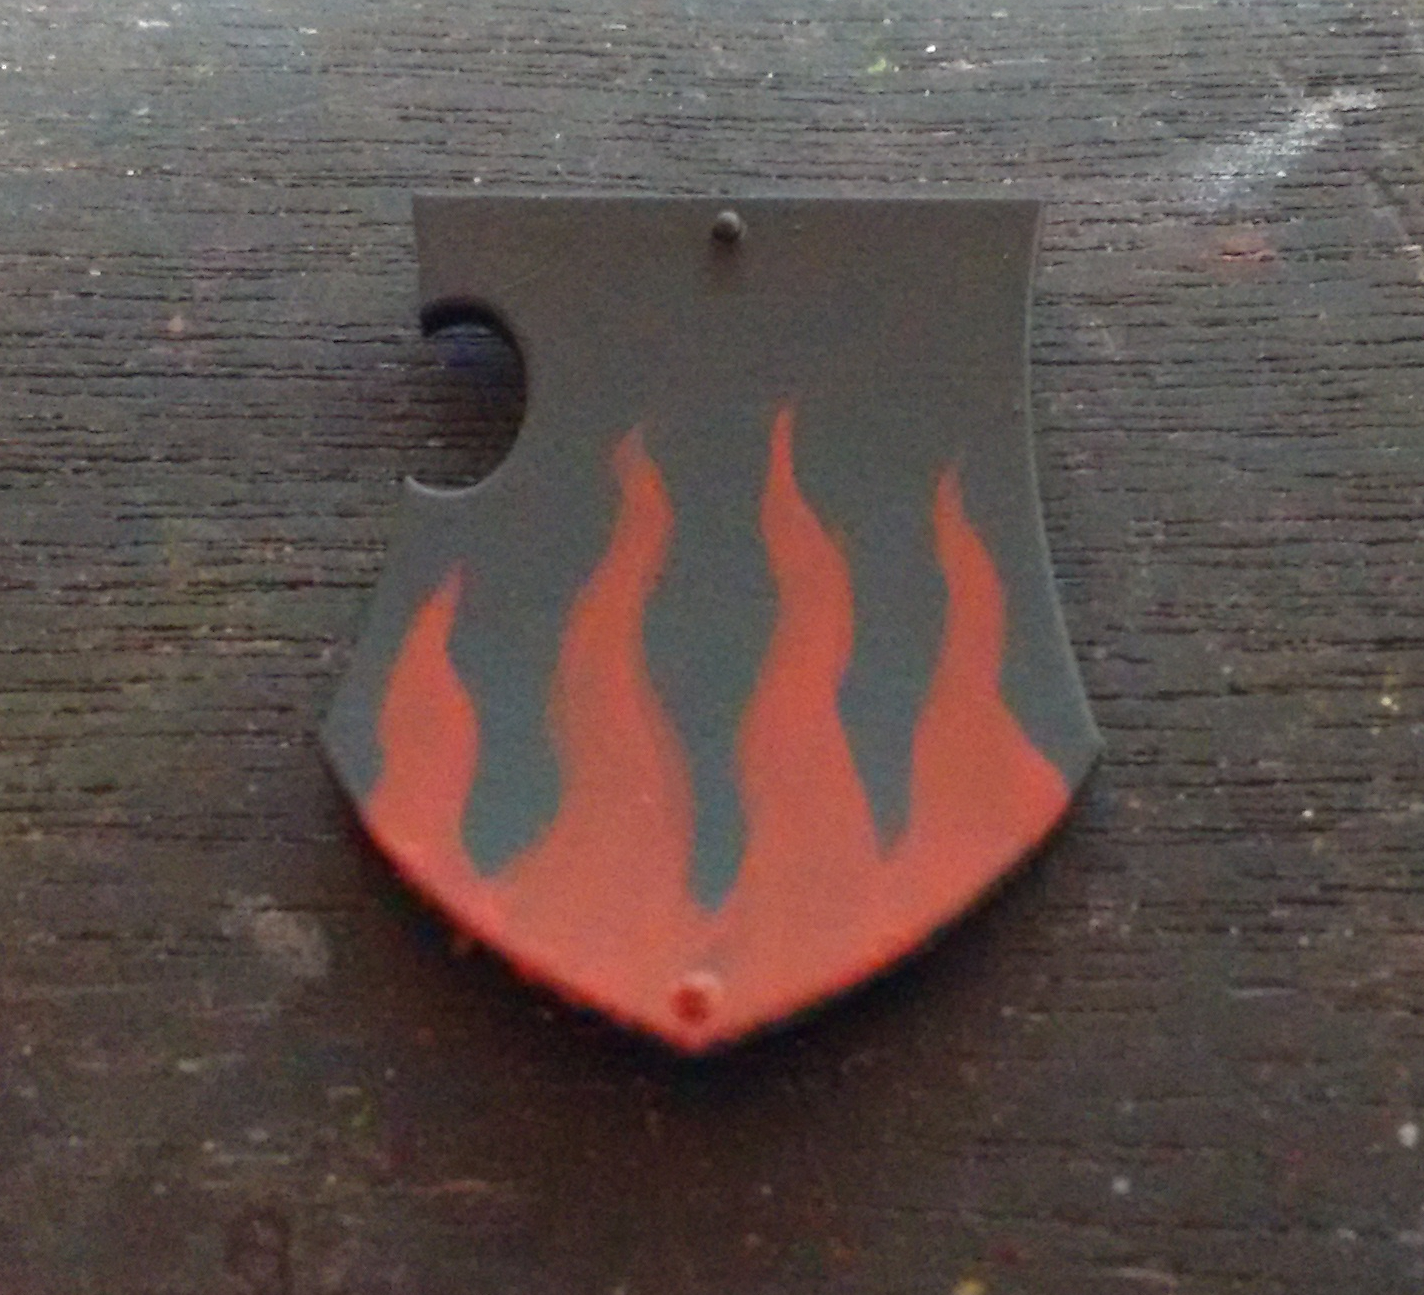
Now it’s simply a case of painting smaller versions of the same shape on top, moving through the colour spectrum towards yellow. Here’s the GW Evil Sunz Scarlet layer:
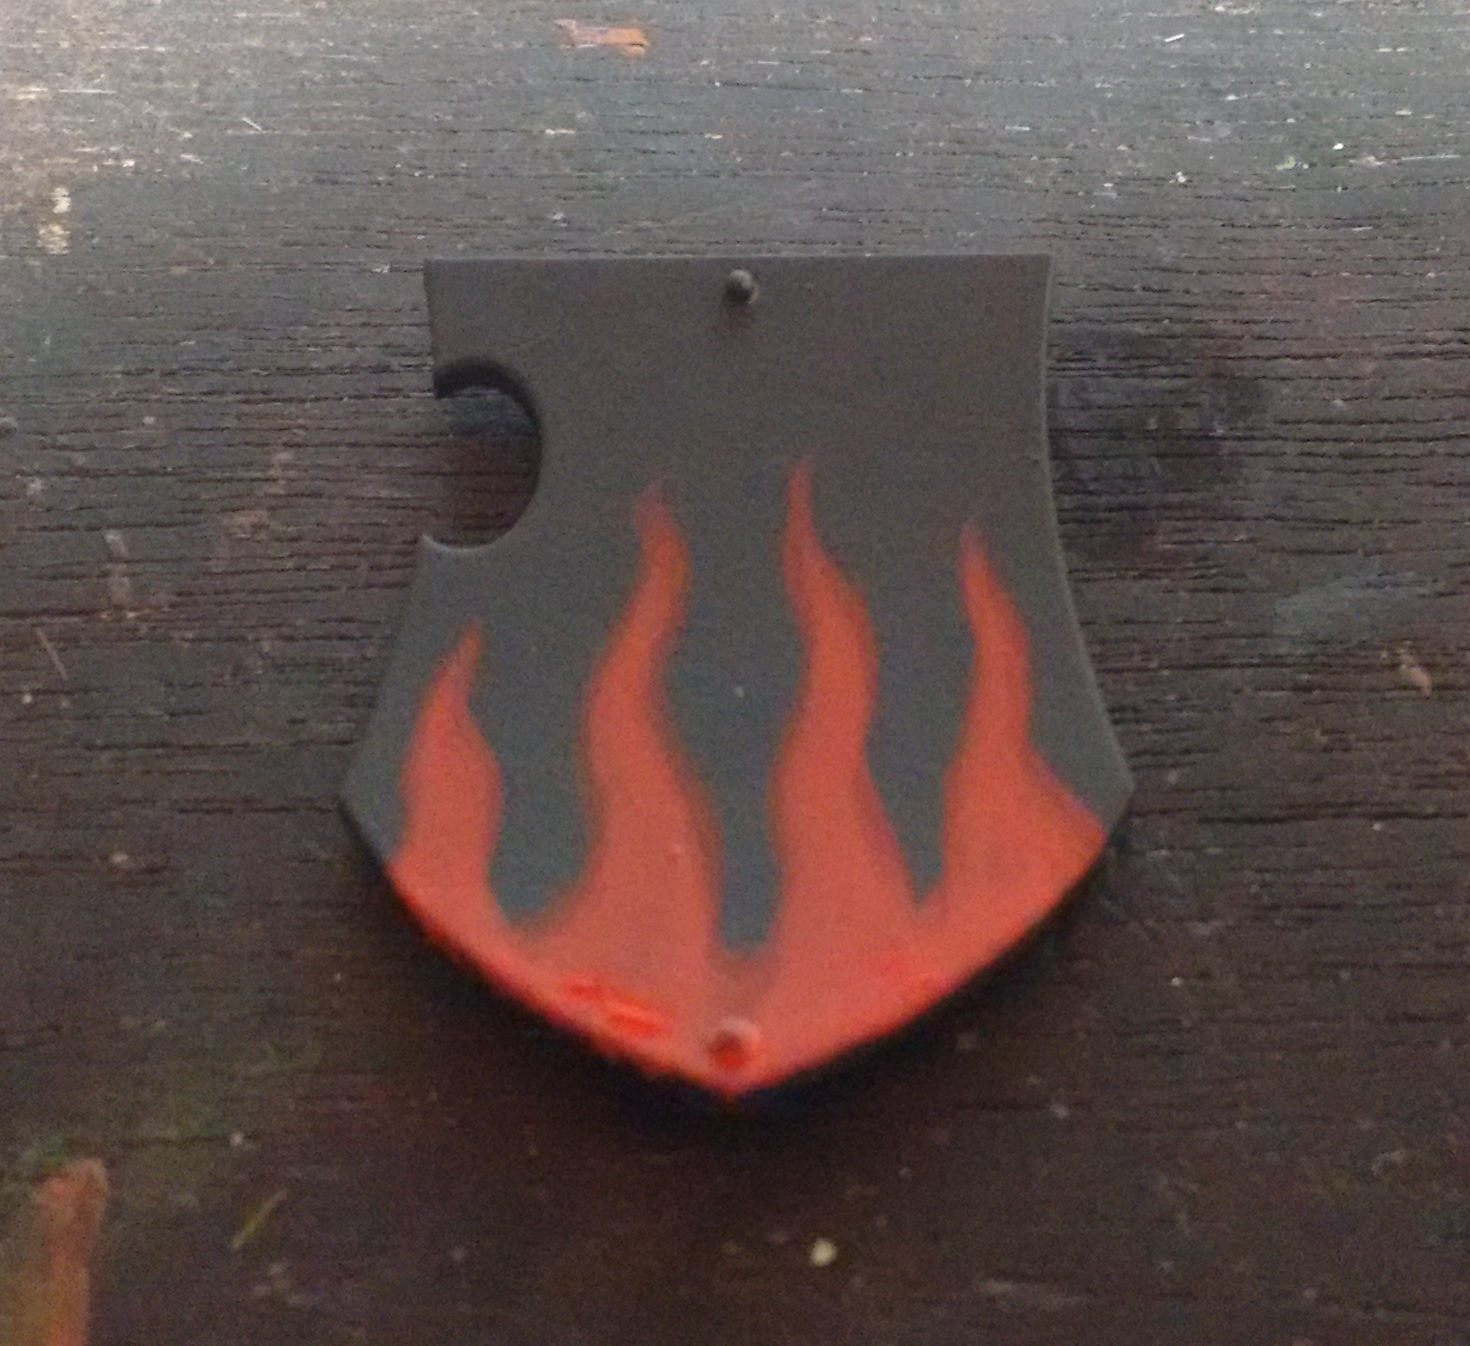
Not much difference, right? We now have Evil Sunz Scarlet flames with an outline of Mephiston Red. Paint a smaller version on top of this using Vallejo Game Colour Bloody Red:
There’s a little more orange in that, allowing us to repeat with GW Troll Slayer Orange:
Getting brighter. Another smaller shape using GW Fire Dragon Bright gives us:

That’s starting to look more like it. Moving onto GW Yriel Yellow:
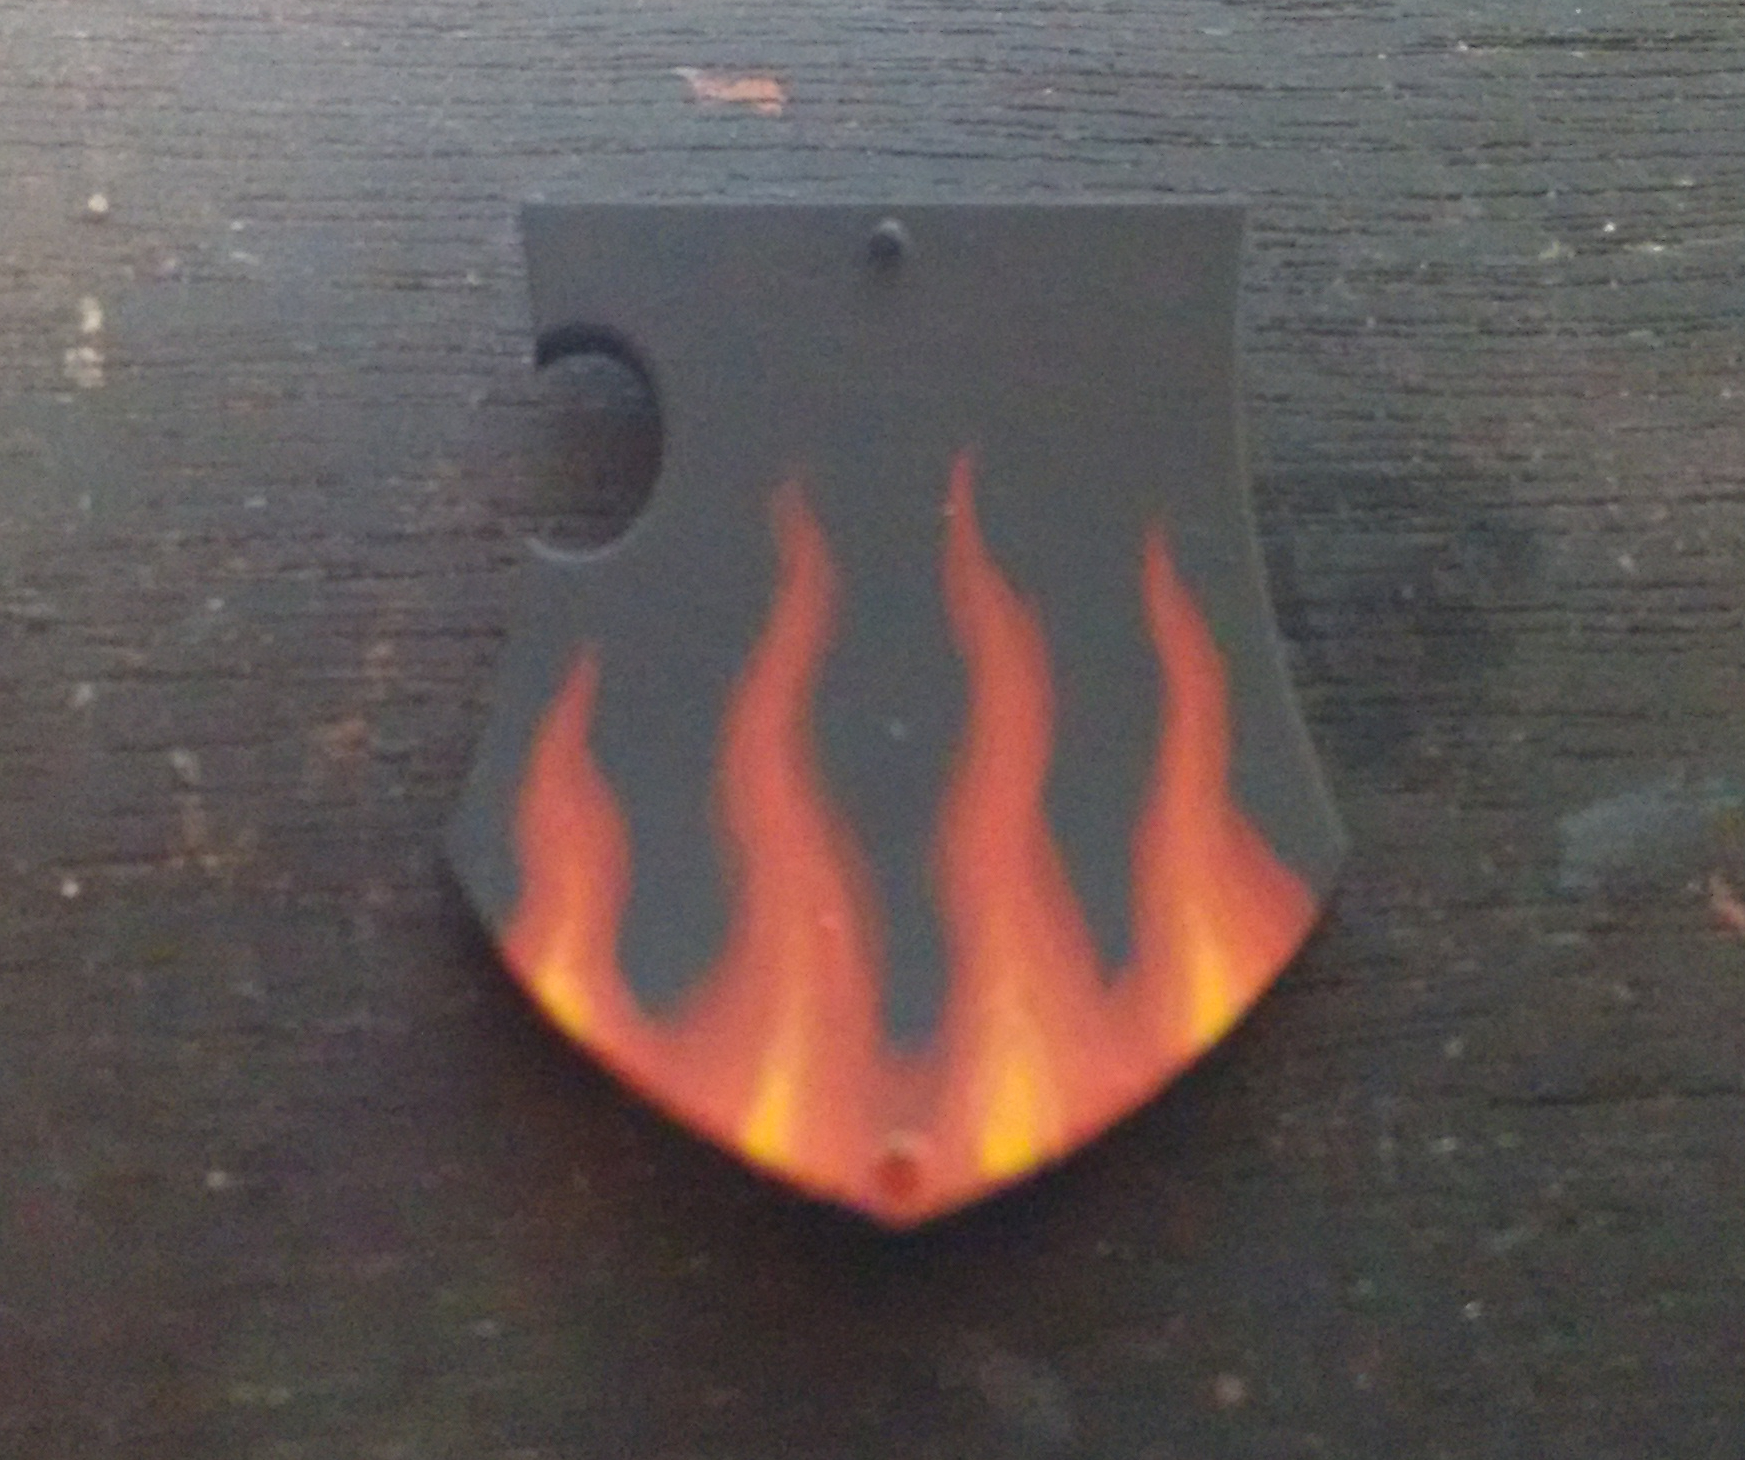
And just a spot of GW Flash Gitz Yellow where it’s hottest:

One thing to remember about fire is that it’s not always consistent – it’s always moving. Sparks fly and it changes shape. As an optional extra, add some flecks of orange and yellow following the curvature of the flame (I used Fire Dragon Bright and Yriel Yellow for this:
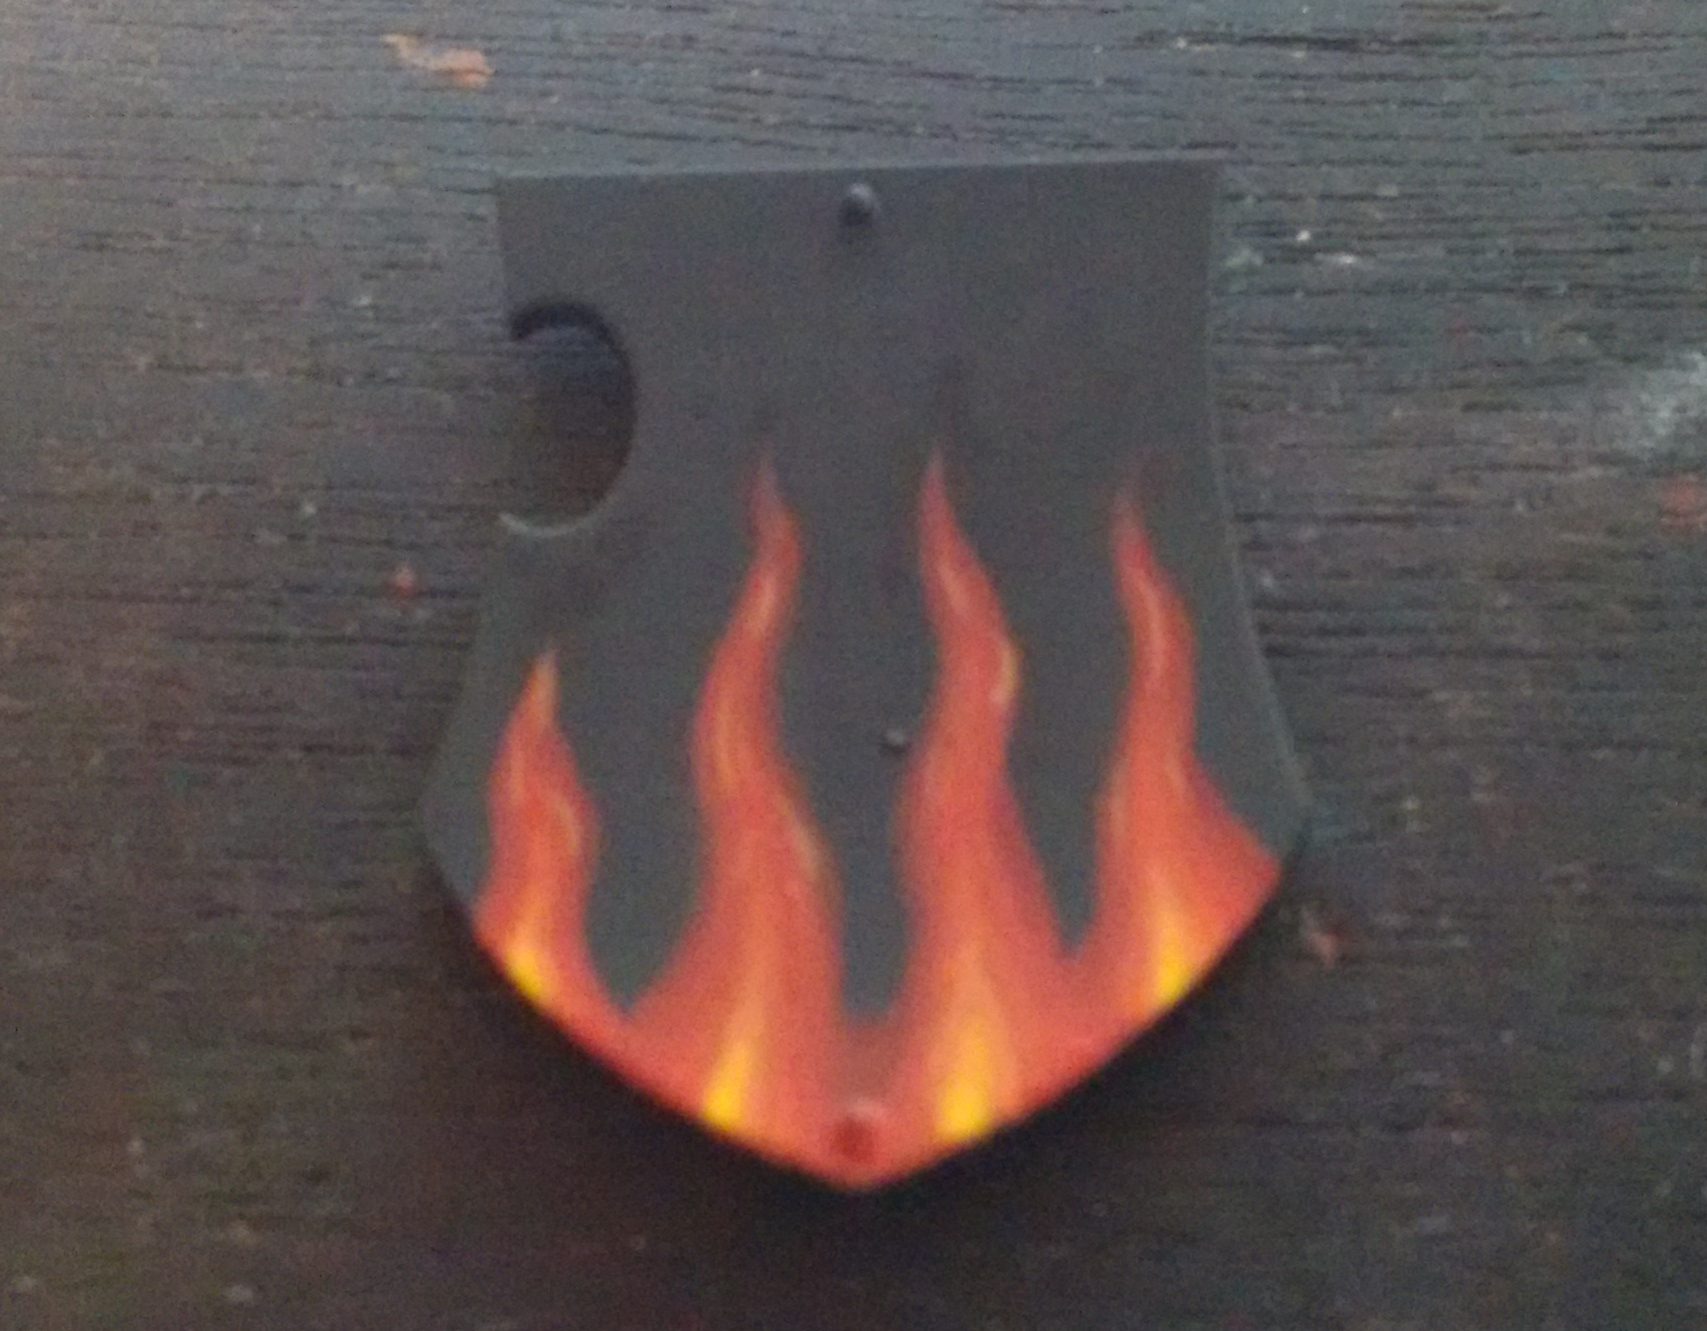
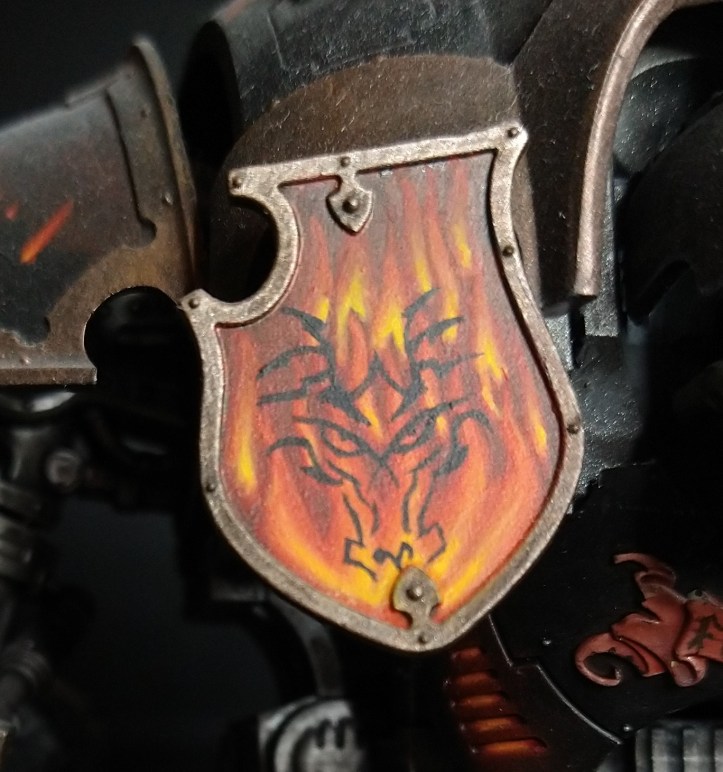
There’s your basic flame. Didn’t I say it’s a quick and easy method? Including mucking about with an uncooperative camera, that took me about 20 minutes. It doesn’t need to stop there. You can achieve different effects by adding layers of fire – simply repeat the process. Here’s a shot from my Imperial Knight where I added a second layer of flames behind the first and some (slightly wonky) freehand on top:
Hopefully that’s shed some light onto the process and given an idea of where you can take it. By all means, change the ratios – have a larger portion of the flame covered with yellow instead of red. Make it your own. Always happy to respond to questions.
Want to support the blog? You can pick up my fantasy short read, Mysticarium, for your Kindle or buy yourself some gaming goodies from Element Games and I’ll get a little kickback. Or you can always support through ko-fi.
