
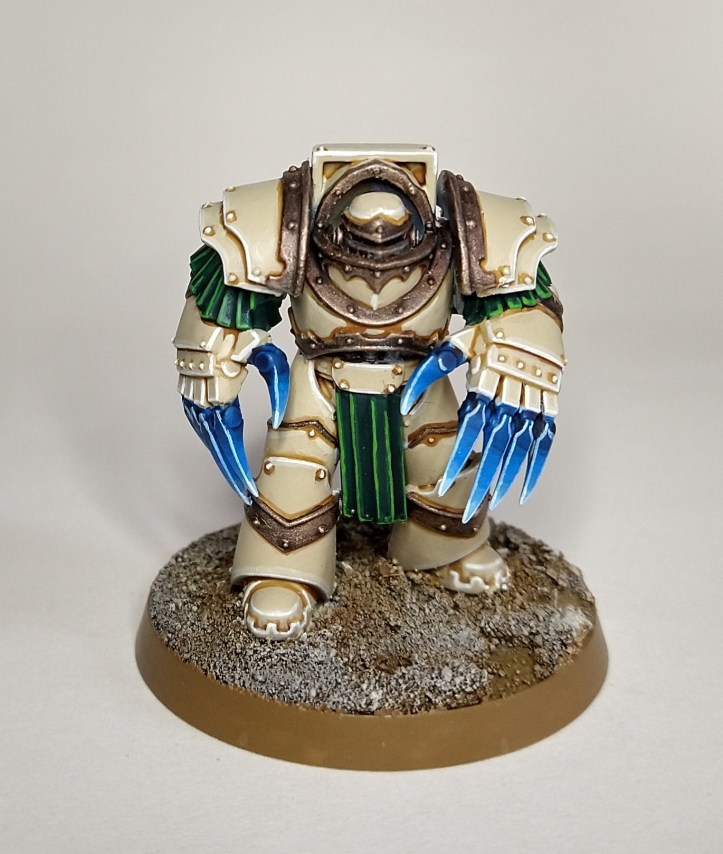
This tutorial can be used for any kind of power weapon, and may be of particular interest to Space Wolves fans to use on frost weapons. Change the blues to greens and you’ve got a recipe for Necron tech. It’s a bit more advanced than the usual fayre you get here so might take some practice. As a general guide, this took about 30 minutes for me to do the claws, most of that being drying time. Hint: if something goes wrong, your paint is probably too thick and you can probably fix it with a thin layer of the base colour. I’m going to bang on about thin paint a lot. We’re going to use a Deathwing Cataphractii Terminator for the example.
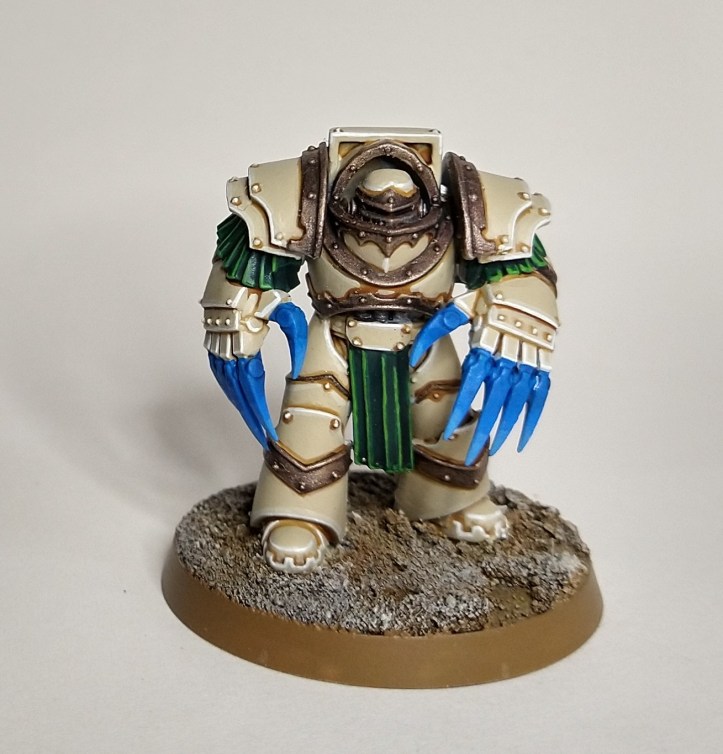
Start with a base coat of Vallejo Magic Blue over a white primer.
That’s given us a flat colour. We’re going to work outwards from the middle: lighter towards the tips, darker towards the hands. For this to work, your paint has to be thin. Really thin. Then thin it some more. Also, make sure you don’t have much paint on your brush – we’re going for subtlety here. The idea is to gradually transition between colours so we don’t want the paint pooling into recesses.
For the dark blue, use GW Drakenhof Nightshade mixed with GW Lahmian Medium. In theory, this is all possible with water, but I’ve never managed to get it to work as well as the medium. The light blue is Vallejo Electric Blue mixed with GW Lahmian Medium. In both cases, the mix is about 10% paint, 90% medium.
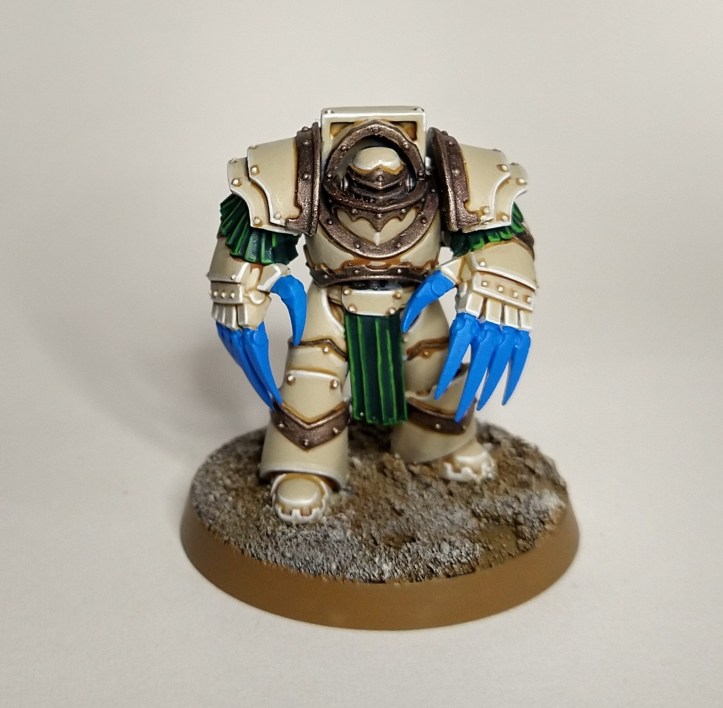
Leaving a little of the base colour in the middle, apply a layer of the dark blue towards and hands and a layer of the light blue towards the tips. It should barely look any different:
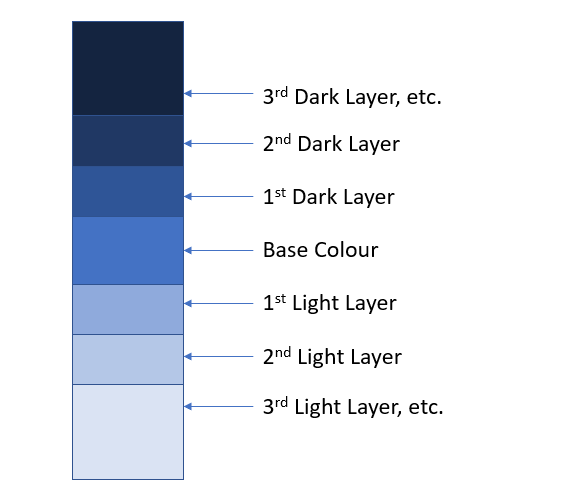
Apply another few coats using the same method, but working back from the centre, so you paint a little less area each time. Here’s a little theory I threw together which might be easier to see than on the model itself.
Dry Blending
This chart should illustrate where to apply each layer. Initially, everything is the base colour. Where the 1st Dark Layer is, there should only be 1 layer of darker paint over the base colour. Where the 2nd Dark Layer is, there are 2 layers of darker paint, and so on.
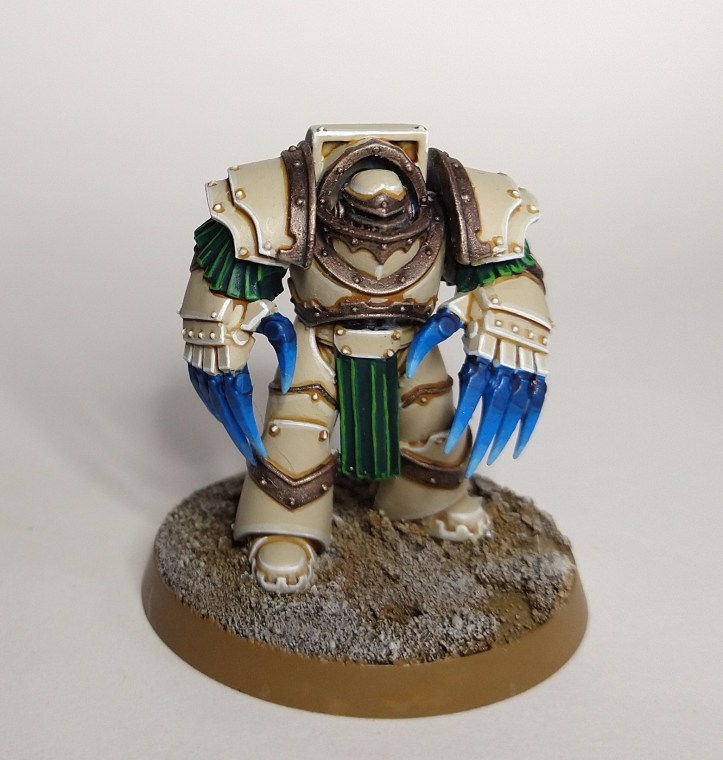
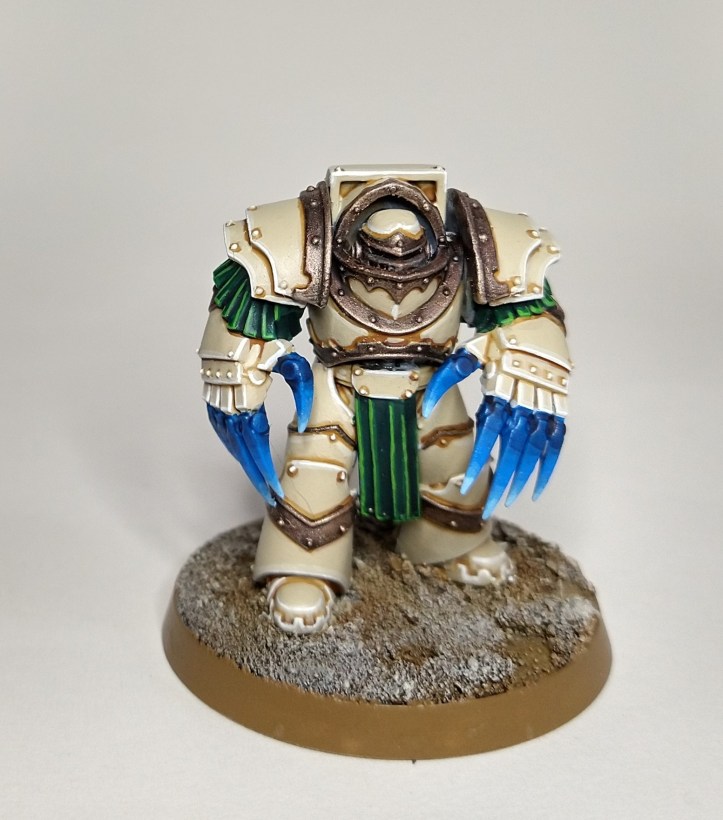
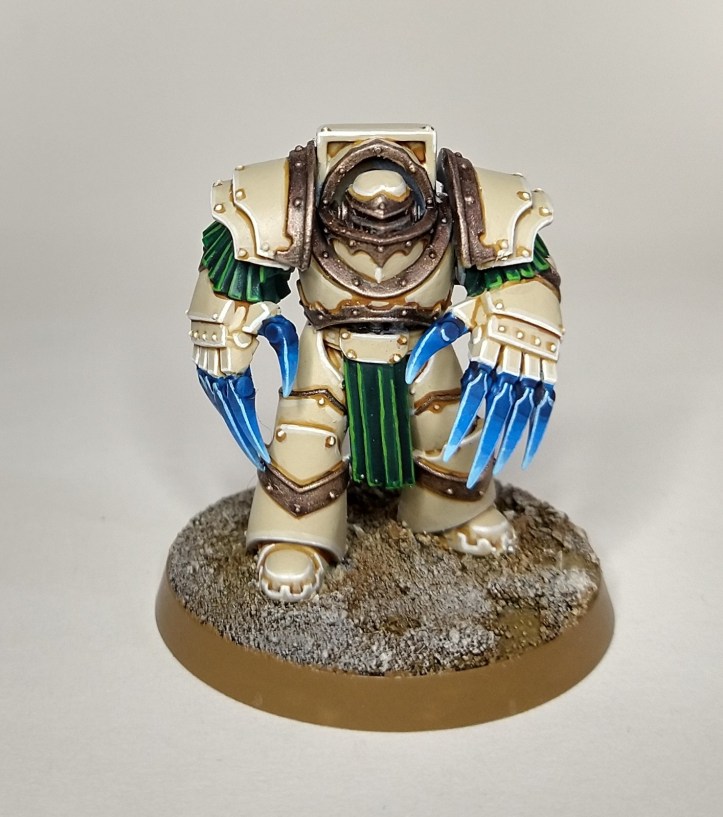
The following pictures illustrate the next 3 coats in order. You may notice that my second layer of light blue was a little too thick, but I can just about get away with it. Otherwise, there is very little difference between each stage. This might be frustrating at first, as it doesn’t feel like you’re getting anywhere, but be patient, it’s exactly what we’re going for.

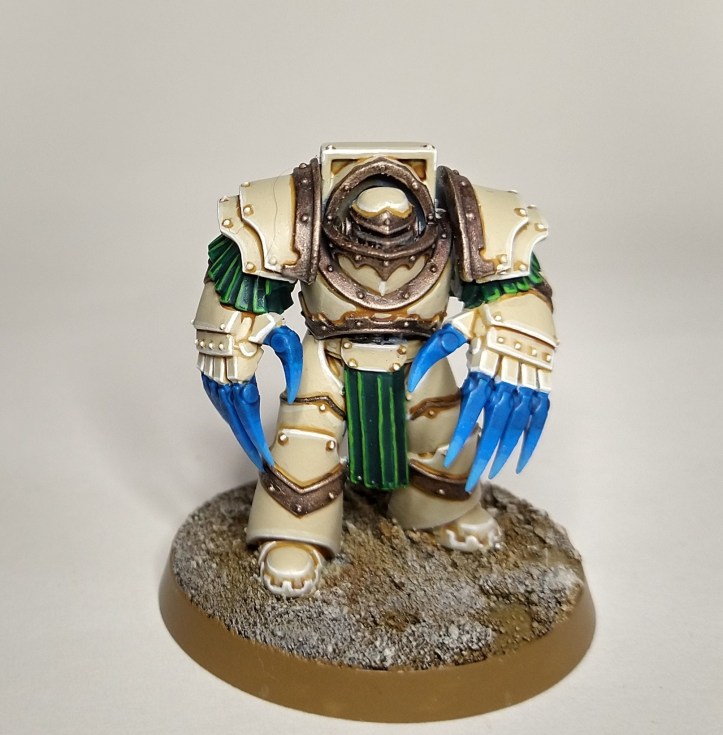
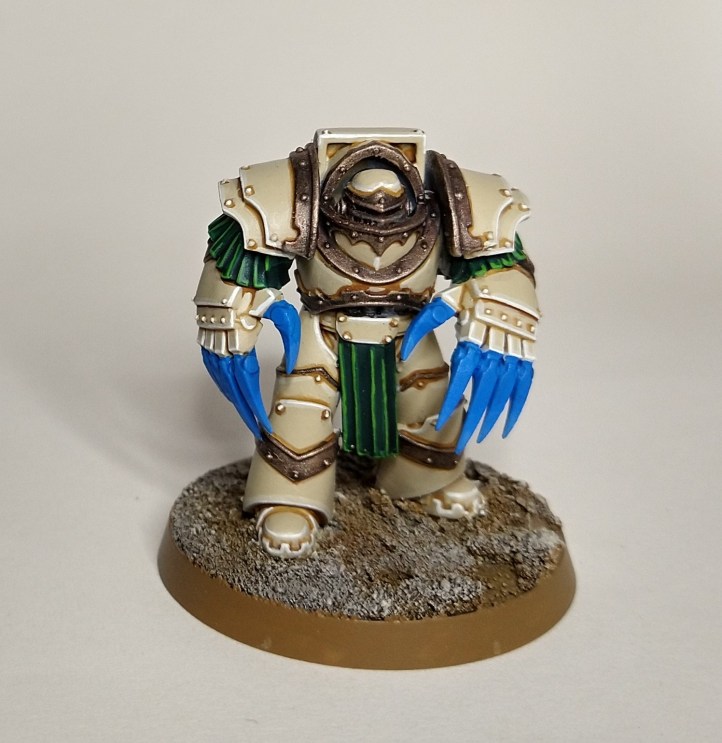
Keep adding layers of dark blue as before, but this time mix the Vallejo Electric Blue with some Vallejo White (or GW White Scar) in a 50/50 mix. Remember to thin this down with about 90% GW Lahmian Medium. Then add another couple of layers near the end of the tips.
That finishes the blend. Next, use 50% Vallejo Electric Blue with 50% Vallejo White, but only thinned about 50%, and with water this time. Drag the side of the brush along the hard edges of the claws. This is your first edge highlight.
Finally, add a layer of Vallejo White, thinned with 50% water and use the side of the brush to highlight the hard edges only at the tips of the claws.
Your claws are now done. This can take some practice (and as you saw, I made a mistake early on) so be patient and don’t expect perfect results first time. Otherwise, have fun with it and try applying the same technique to other things.
Let me know how you get on by leaving a comment below, especially if you’ve got something to share.
Want to support the blog? You can pick up my fantasy short read, Mysticarium, for your Kindle or buy yourself some gaming goodies from Element Games and I’ll get a little kickback. Or you can always support through ko-fi.
