
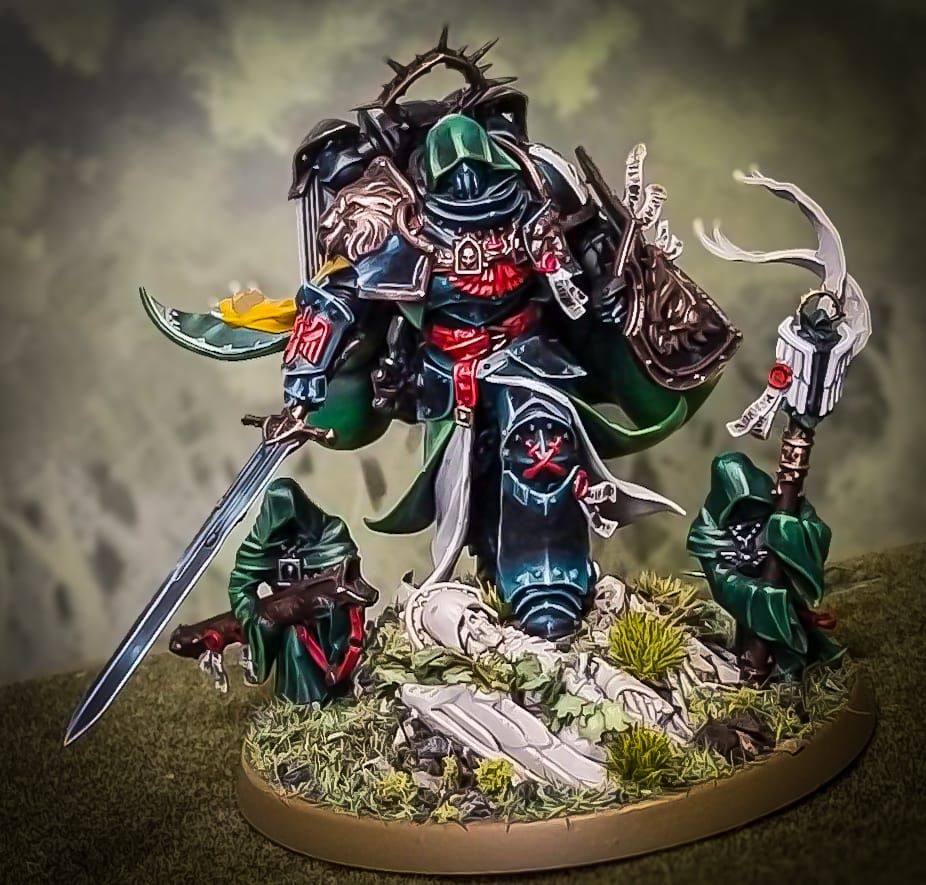
After about a year in my pile of potential, the Knight of Nihilus himself, the Lion, got a lick of paint. This was a long project but an outstanding miniature to put my best work into.
I used a ton of blending and mixing on this one, hence why it took so long. Some bits worked better than others – the black armour turned out better than expected, although the cloak could be smoother (granted, the photos aren’t doing me any favours, making it look a bit more washed out than it looks in the flesh).
Overall, I’m very happy with the results. Here’s what I did.
Armour
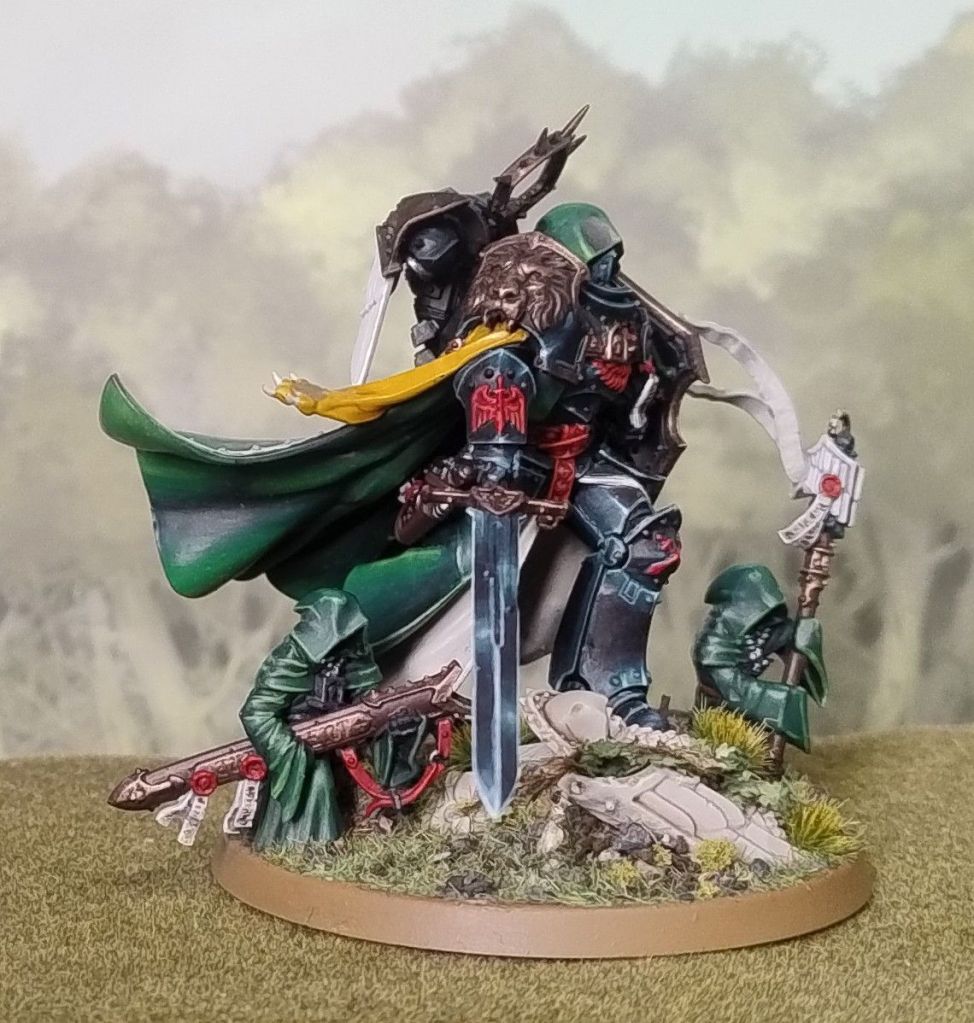
I primed the whole thing with GW Chaos Black spray. The armour then got a coat of GW Abaddon Black. At this point it was all about building up a silly amount of layers to make the light blooms. I’m still learning NMM style so I copied the reflection points from the box art, although I used a different paint recipe.
The first layers were all TTC Hydra Green. Then I started adding progressively more GW Ushabti Bone to the mix and building up move layers closer to the edges. The final edge highlight, applied in as thin a line as I could, is mostly GW Ushabti Bone with a little TTC Hydra Green. Where there’s a light bloom or sharp edge, I put a tiny dot of Vallejo White. In all, there’s about 30-40 layers making up the blend.
Sword
Very similar to the armour. This used a TTC Hydra Green base coat. The dark parts added black to the green, while the light added GW Ushabti Bone. The edge highlight is all Vallejo White.
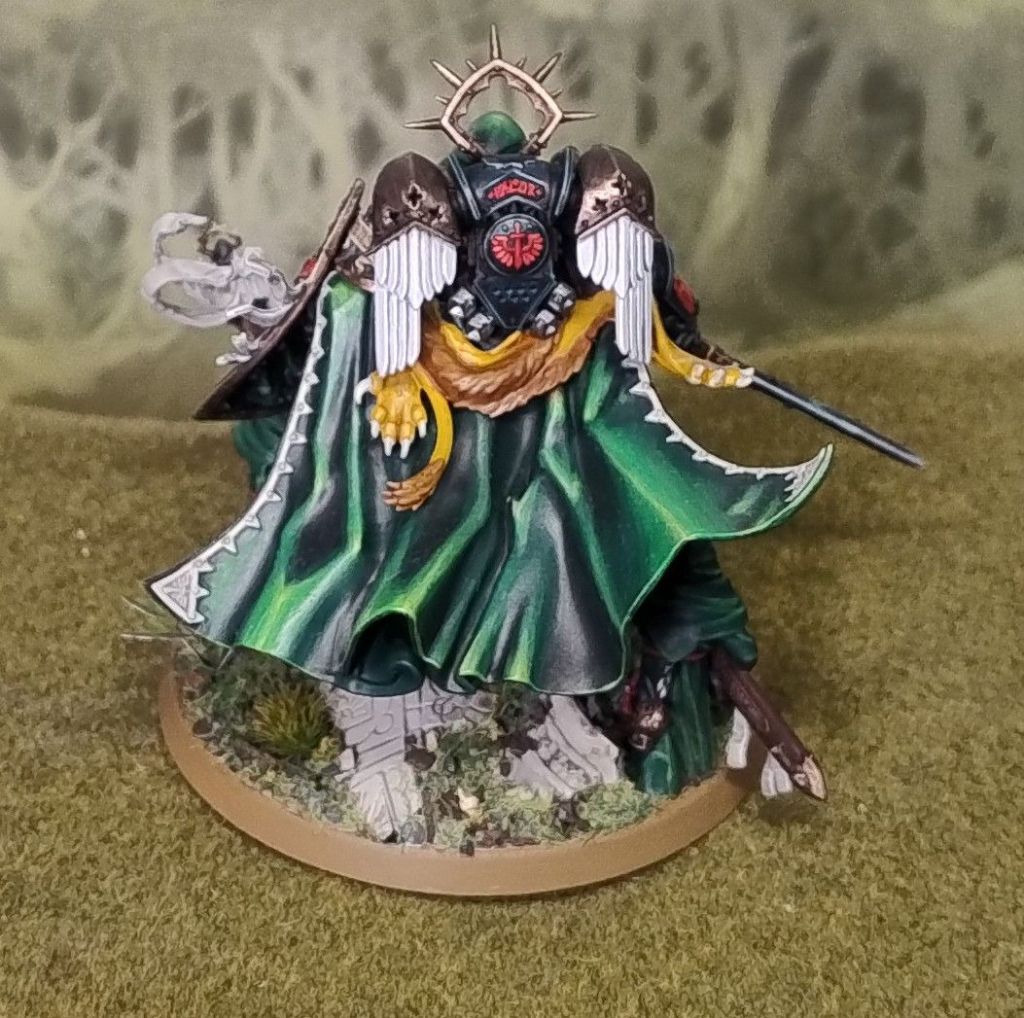
Cloak
All blending again. This started with a solid base coat of GW Caliban Green. I added progressively more GW Abaddon Black in to make the shade. The highlights go through adding GW Warpstone Glow and then GW Moot Green. As with the armour, lots of layers. The brightest parts are Vallejo Yellow Green.
Bronze
I prefer bronze and brass on my Dark Angels rather than gold and I wanted to tie the Lion to the rest of the collection. This is super quick and easy to do. Base coat with GW Warplock Bronze and wash with GW Nuln Oil. Then drybrush with GW Sycorax Bronze. I then edge highlighted with some thinned GW Sycorax Bronze as this gave it a brighter finish.
Basing
There’s a lot of stuff on the base. The rubble was painted with Vallejo Deck Tan, washed all over with GW Agrax Earthshade then drybrushed with Vallejo Deck Tan and Vallejo Ivory. Most of the ground coverage is Krautcover Meadows of Purity and Kodama Woods. There are some tufts from Gamer’s Grass and ivy from Green Stuff World.
Want to support the blog? You can pick up my fantasy short read, Mysticarium, for your Kindle or buy yourself some gaming goodies from Element Games and I’ll get a little kickback.
