
Painting the Unforgiven, the first and greatest of the Space Marine chapters, can be a straightforward and repeatable process of shades and edge highlights. Here’s the method I use.
Prime and Base Coat
If you can get hold of a can of Citadel Caliban Green spray, do so – it’s perfect. Unfortunately, that’s out of production at Games Workshop so I settled for Halford Grey Primer as an alternative*.
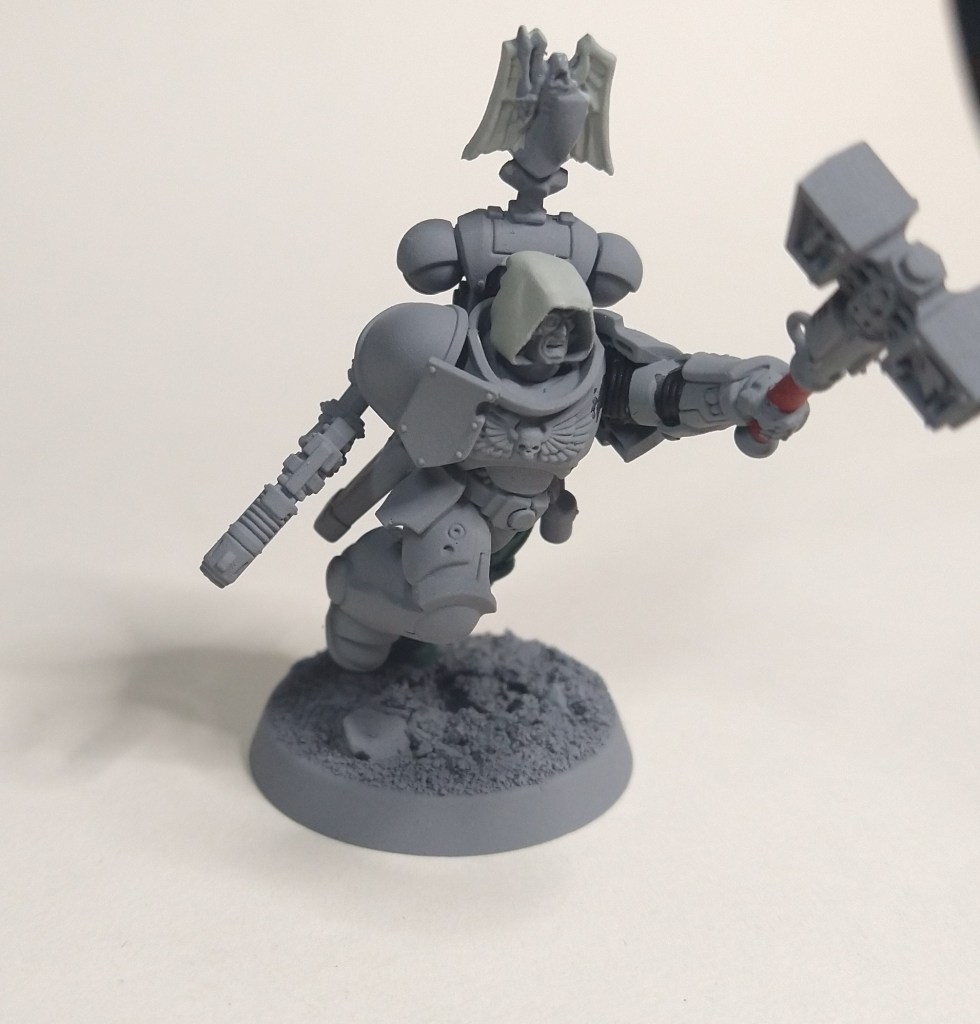
Once it’s primed, use Citadel Caliban Green to base coat all armour panels. Thinned by about 50% for smooth coverage, this takes about 3 coats. Be patient and let the previous coat dry before applying the next. I tend to use a size 2 brush for this bit.
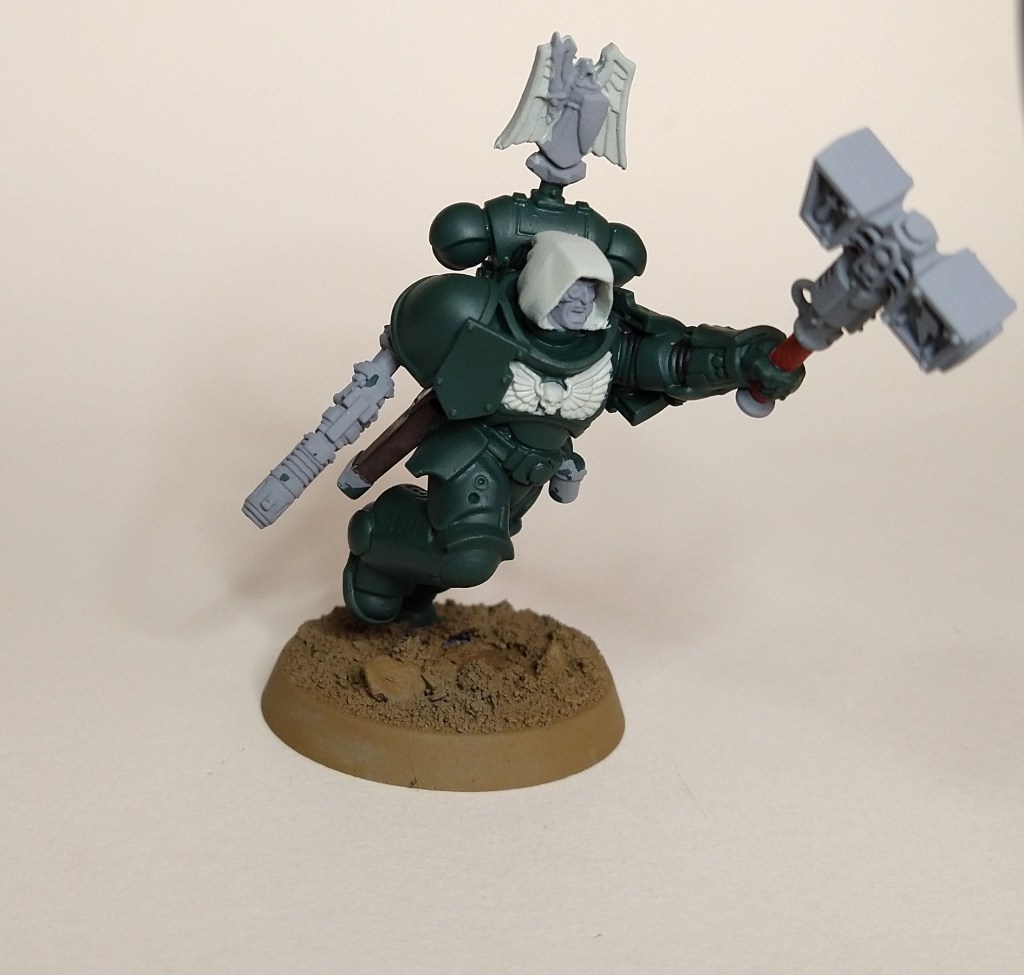
Shading
I use a 70:30 mix of Citadel Caliban Green and Vallejo Game Color Black as a shade, thinned about 50% with water. Citadel Nuln Oil is a reasonable alternative if you don’t fancy all that mixing. Paint directly into the recesses and tidy up anywhere you’ve overstepped using the base colour.

Highlights
There are 3 levels of edge highlight used here.
Start by using Citadel Warpstone Glow, again thinned about 50%. Paint along all raised edges, using the side of the brush where possible for a neat line. This usually takes 1-2 coats.
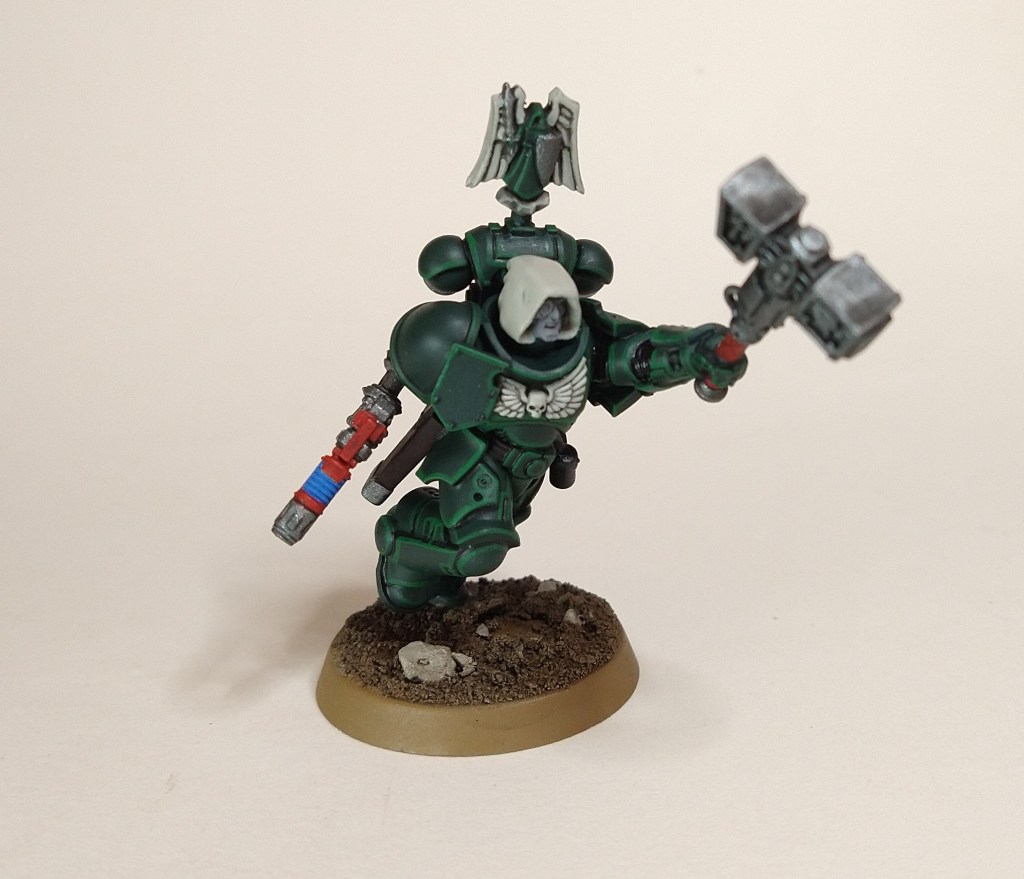
For the second highlight, paint a thinner line of Citadel Moot Green over the top of the Warpstone Glow, keeping to the hard edges of the model. The effect should really start to pop now. Note: these thin lines will probably be a bit wobbly when you first start (mine often still are) but nothing you can’t fix by smoothing them out with some of the previous layer’s colour.

The final, extreme highlight is done by adding little dots of Vallejo Yellow Green just on the sharp, prominent edges and corners of the model.
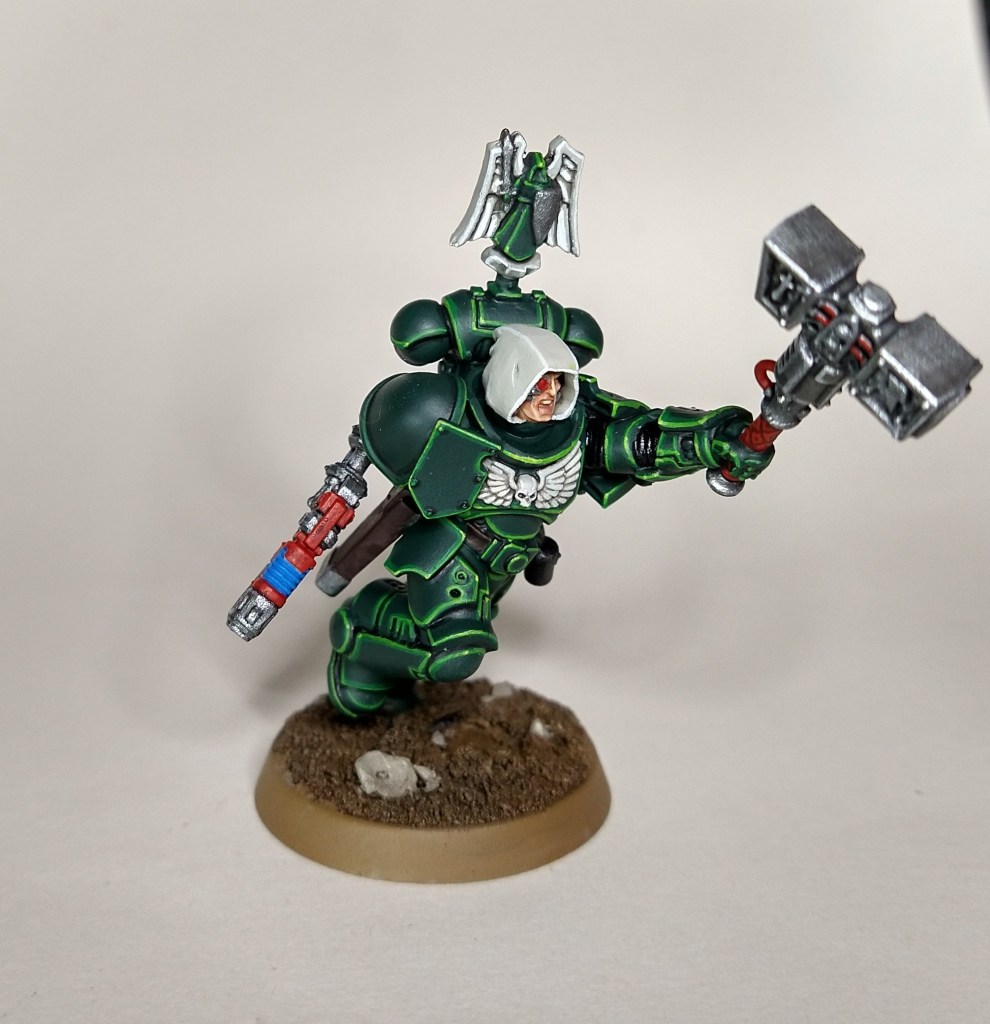
You’re all done! Without any blending involved, following this process should give you a good, consistent look across your whole army. Here’s the finished result with the rest of the details filled it.

*If you’ve tried any alternative brands, such as Army Painter Angel Green spray, please let me know how you got on.
Want to support the blog? You can pick up my fantasy short read, Mysticarium, for your Kindle or buy yourself some gaming goodies from Element Games and I’ll get a little kickback.

[…] I primed the whole thing with Army Painter Angel Green. This stuff is a touch thicker than I’d like in a primer but since Games Workshop no longer sell Caliban Green spray, it’s the best I’ve found and you don’t lose any detail. I then followed with a couple of thin coats of GW Caliban Green over the top using a terrain brush. The rest of the green follows my tutorial on Dark Angels green armour. […]
LikeLike
[…] green armour uses my standard approach to Dark Angels, although the extreme highlights on the armour look a bit washed out on these […]
LikeLike