
This is the final instalment of the Painting Space Marine Salamanders series where we finish off the sergeant. If you missed the previous posts, you can find them here:
As before, abbreviations for paint brands are:
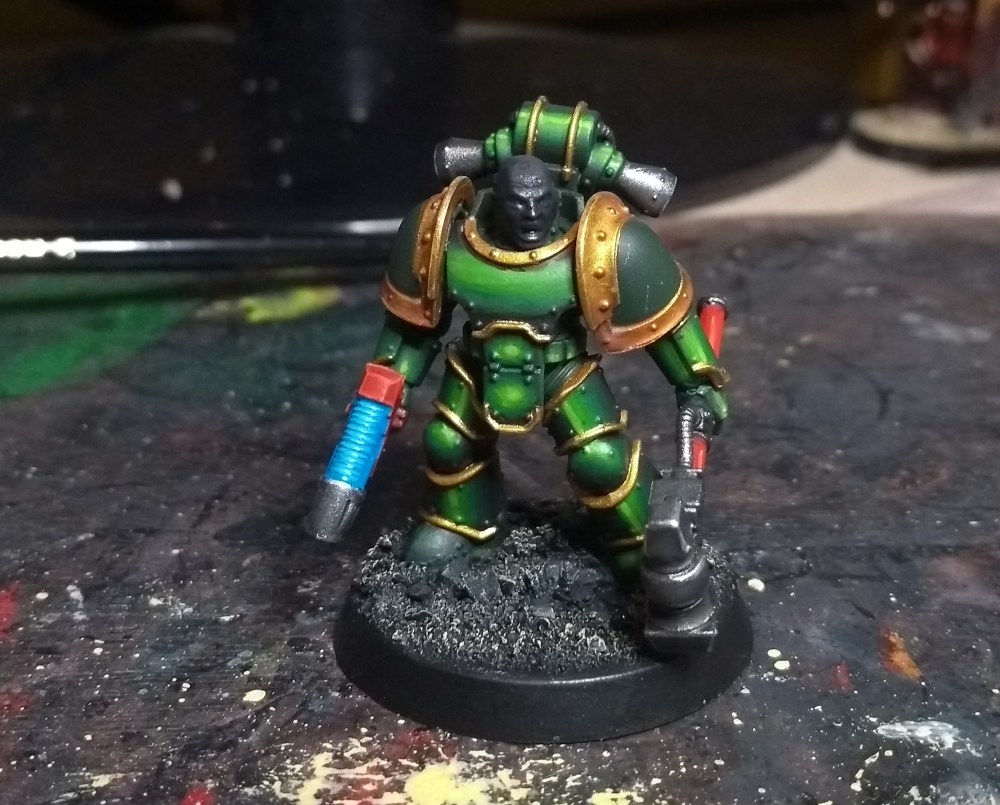
Step 1: Base coats
Since I like to paint the next bit while another part is drying, each step in this tutorial may cover more than one part of the model. The base coat is applied to the head, plasma pistol and base. Each uses paints thinned with about 50% water. Two thin coats should do it.
Head: VMC German Grey all over. Note that it’s grey not black. This is because you can’t shade black (nothing is darker) – using grey allows a little more depth.
Plasma: VGC Magic Blue. Paint not just the exposed plasma coils but spill onto the surrounding case of the weapon. This helps a little with the glow effect.
Base: The rocks are VMC German Grey while the rest is VGC Black all over.

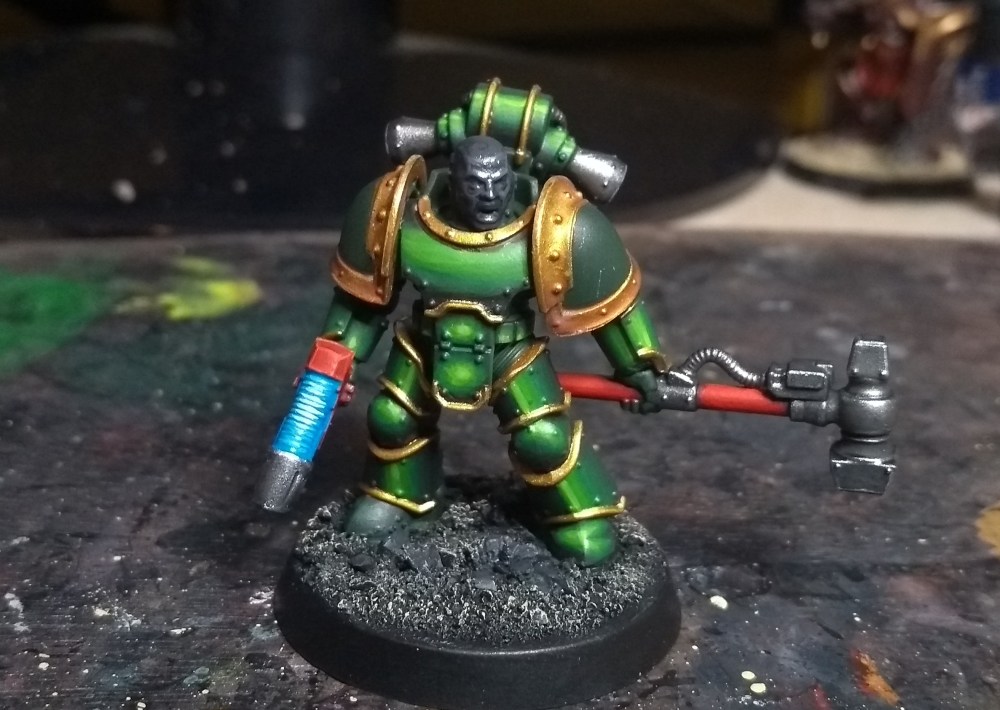
Step 2: Shade the head, highlight plasma and base
Head: Wash all over with GW Nuln Oil. This will find its way into the contours and do the shading for you.
Plasma: Paint VGC Electric Blue directly onto the raised plasma coils. You’ll need to keep a steady hand for this.
Base: Drybrush VMC Dark Sand over the black. This is slightly out of the ordinary but I was looking for a ‘black sands of Istvaan’ effect.
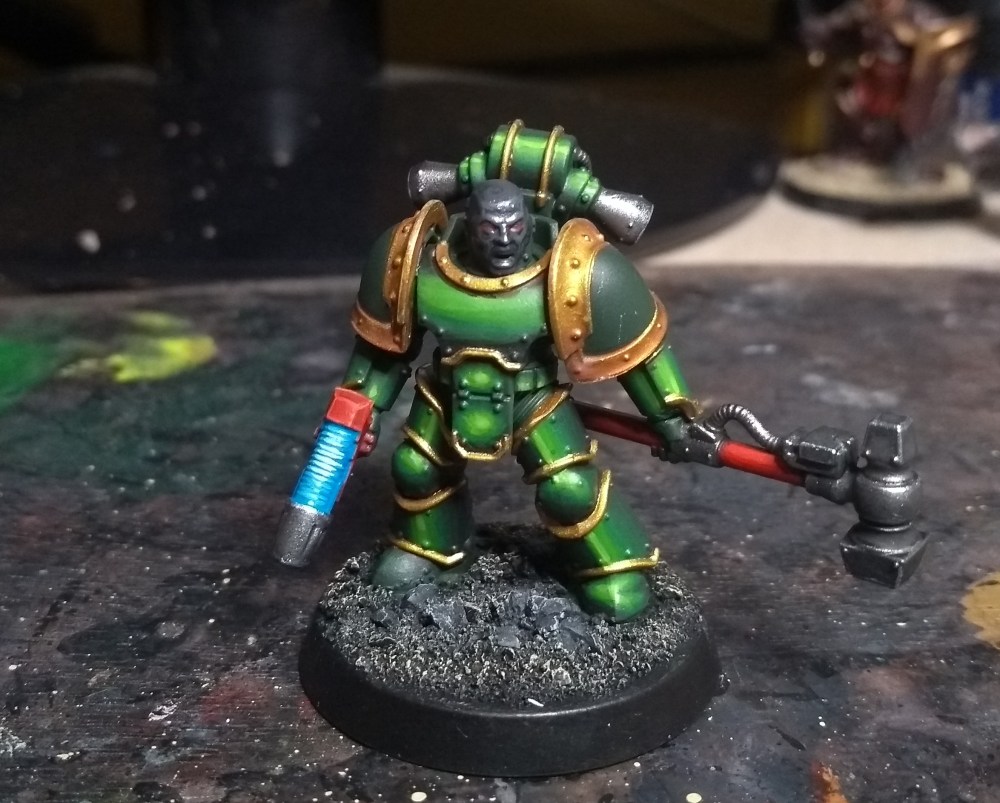
Step 3: Highlight head, second plasma highlight
Head: Follow the edges and raised areas like the cheeks and lips with GW Mechanicus Standard Grey.
Plasma: Towards the centre of the plasma coils, use VGC Glacier Blue (almost white) to paint shorter lines atop the previous highlight so that it looks more intense in that area.
Step 4: Base coat eyes, highlight rocks
Head: Use GW Mephiston Red to form the background of the eyes. You’ll barely see it at this stage – that’s fine, we’re going to keep building up this colour to make them glow.
Base: Drybrush GW Celestra Grey over the rocks.
Step 5: Build up the eyes
Head: Each layer on the eyes will cover slightly less area than the previous. For example, when we apply the next layer (GW Evil Sunz Scarlet), we want to keep some of the base colour visible either side. Follow this process for the following colours in this order:
GW Evil Sunz Scarlet, GW Troll Slayer Orange, GW Fire Dragon Bright
Keep a steady hand for this and only have a little paint on your brush to reduce the chance of overstepping. The below photo was taken after the first 2 coats.
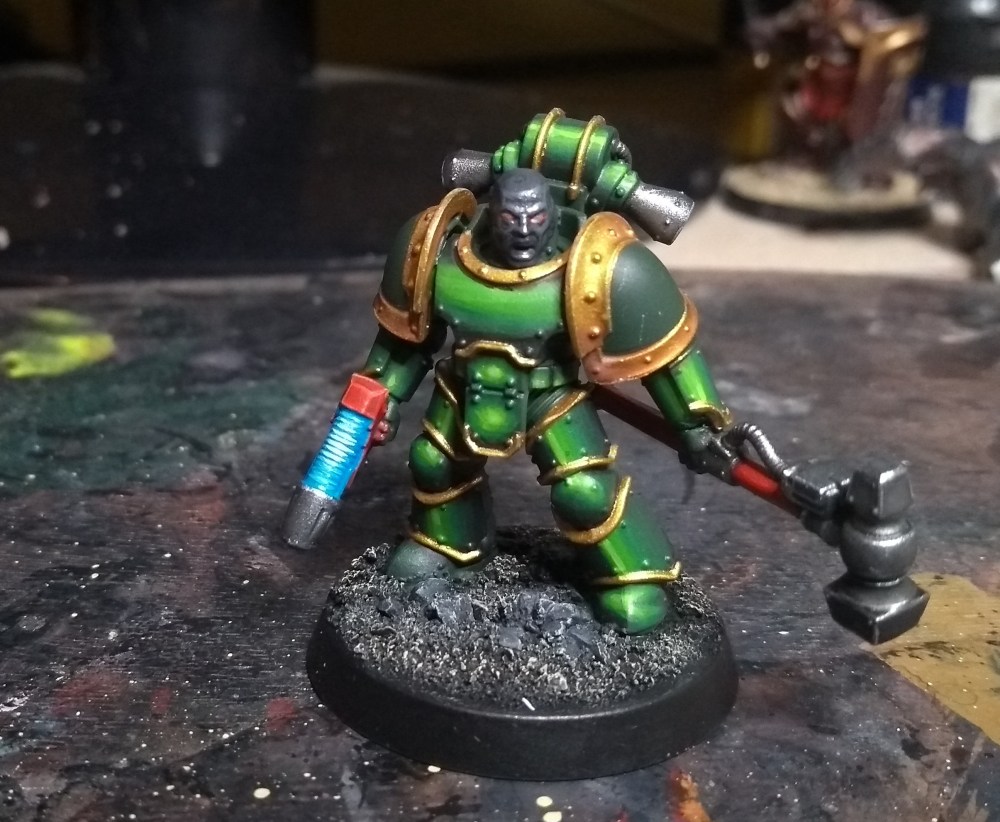
Step 6: Finishing touches
Head: A dot of GW Flash Gitz Yellow in the centre of the eyes will really make them stand out.
Plasma: Tidy up the highlight with VMC White. Keep to the centre to further intensify the plasma glow.
Base: Add a few tufts. I used Serious Play tufts here but Army Painter and Gamer’s Grass are both good quality.
Other bits: You’ll notice the shoulder pads are now black and they have some decals on them. These are from the Forgeworld Salamanders transfer sheet. A tutorial on applying transfers can be found here.

There’s our Salamanders tactical sergeant ready for battle. All that’s left is to spray with Citadel Munitorum Varnish, give him a name and assign him to his squad.
Hopefully you found that series useful. Drop me a comment if there’s something you’d like to see or have explained further.

These are some absolutely stunning minis. How did you find the pain scheme. Anything you might do differently on the next lot?
LikeLike
Appreciate it, thanks. This is pretty much my tried and tested scheme on my Salamanders now, with most of the army painted. The green used to be the tricky part but doesn’t take that long to do now. I tried NMM on the silver and gold previously, but made a mess of it (hence using true metallics here), so I’ll likely find another project to improve that.
I’ve been watching your knight progress too – looks great.
LikeLike
Oh thanks man!… Yeah… A little worried about painting that. I’m a builder first, first player second
LikeLike
Oops! I meant painter… But that is probably also true. So maybe painter 3rd!
LikeLike
[…] Tutorials are available for the armour, metals/weapons, and skin/plasma glow/basing. […]
LikeLike