
Lightning effects are great to simulate magic, energy weapons or just on the panels of a larger miniature. Here’s a quick and simple guide on how to get the effect. In this blog, I’m going to look at green lightning but the theory is exactly the same whether you go for blue, red, whatever, just change the colours.
Weapons of Choice
I’ll be painting the panels of an Armiger Warglaive. Here’s the full list of paints:
- Vallejo Game Colour Black
- Citadel Incubi Darkness
- Citadel Caliban Green
- Citadel Warpstone Glow
- Citadel Moot Green
- Vallejo Model Colour Yellow Green
I use a size 1 Winsor and Newton Series 7 brush here but as long as you have something that keeps its point, you’re good to go.
Process
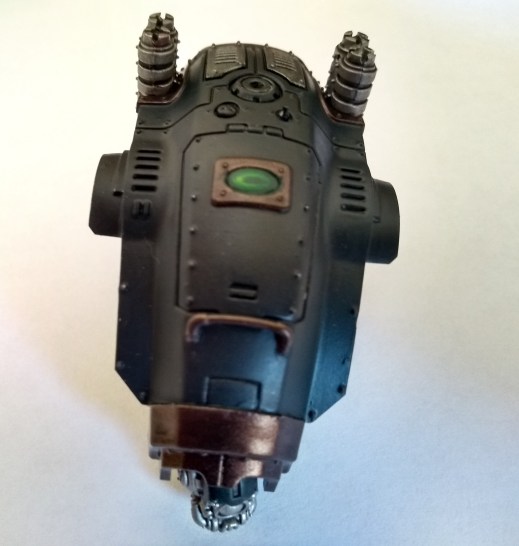
Step 1: Base Coat (Incubi Darkness, Black)
Base coat the area by mixing a little black to Incubi Darkness. Because Incubi Darkness has a little green to it, the glow effect is more subtle than the stark contrast on flat black which can often look washed out.
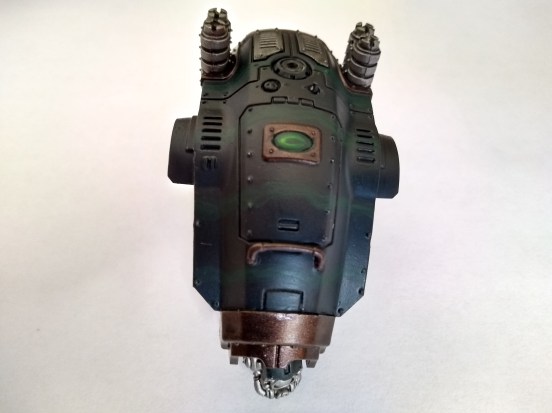
Step 2: Outline (Caliban Green)
Thin some Caliban Green so it’s very watery. This forms the outermost area of the glow effect. Paint the vague outline of how you want your lightning to look about 2-3mm wide. There’s no need to be neat right now. Once that layer is dry, paint a slightly narrower version within it. At this point it won’t look like you’ve done much.
Step 3: Bolt Outline (Warpstone Glow)
Warpstone Glow provides the main outline of the lightning bolt. Thin it with water in a 50/50 mix. This is where you need to be a little more precise. Keep your brush strokes slow and controlled for a thinner line. Don’t worry about a few little flecks where the lines don’t quite match – these just add to the effect.
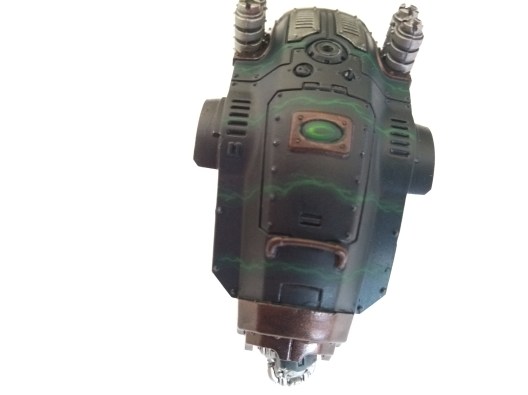
Step 4: Bolt Definition (Moot Green)
Water down Moot Green, again to about a 50/50 mix, and paint a slightly thinner lightning bolt within the original, following your lines. Essentially you’re going for a line of brighter green within the Warpstone Glow line. Your lightning bolt should now have more definition.
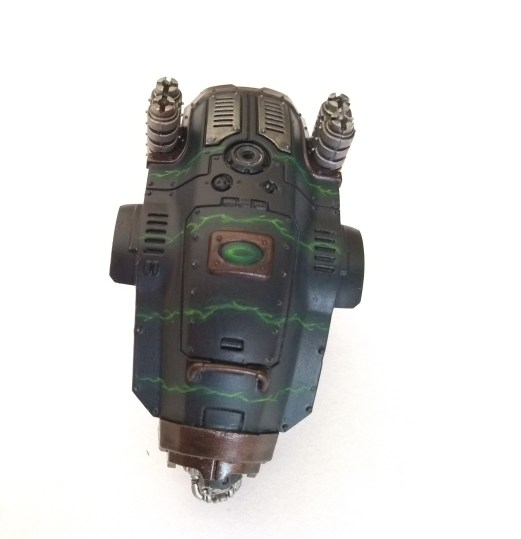
Step 5: Highlight (Yellow Green)
Finally, use Yellow Green (again thinned 50/50) to pick out the jagged edges on the bolt. You’re looking for the places where it forks from the main outline. Carefully highlight these areas either side of the fork.
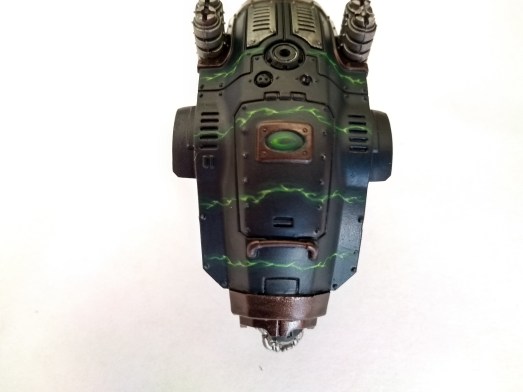
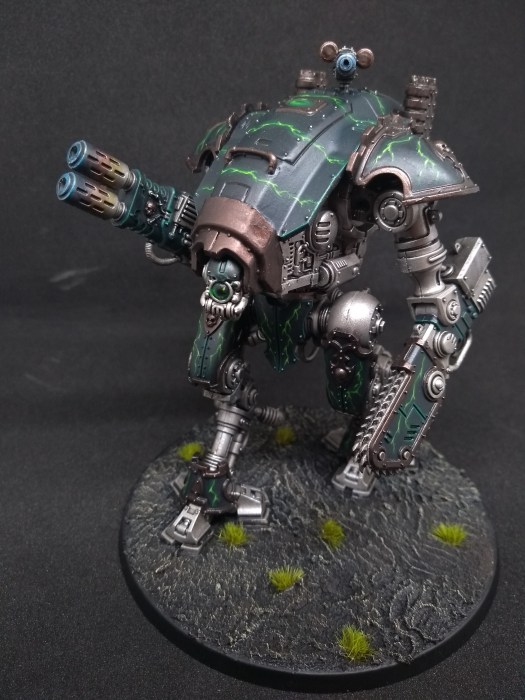
And you’re done! Here are some options for how to use the effect.
Armiger Warglaive:


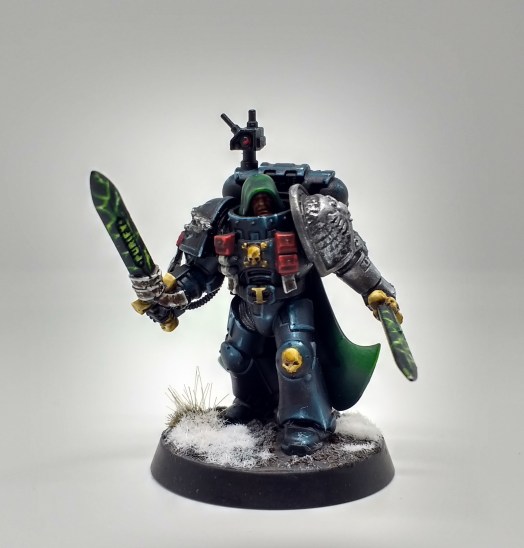
Energy weapon (Deathwatch Black Shield):

[…] Here’s my earlier tutorial on painting lightning effects. […]
LikeLike